How I spent ~400 hours and ~$830 building my own rat terminator with machine learning (instead of hiring an exterminator).
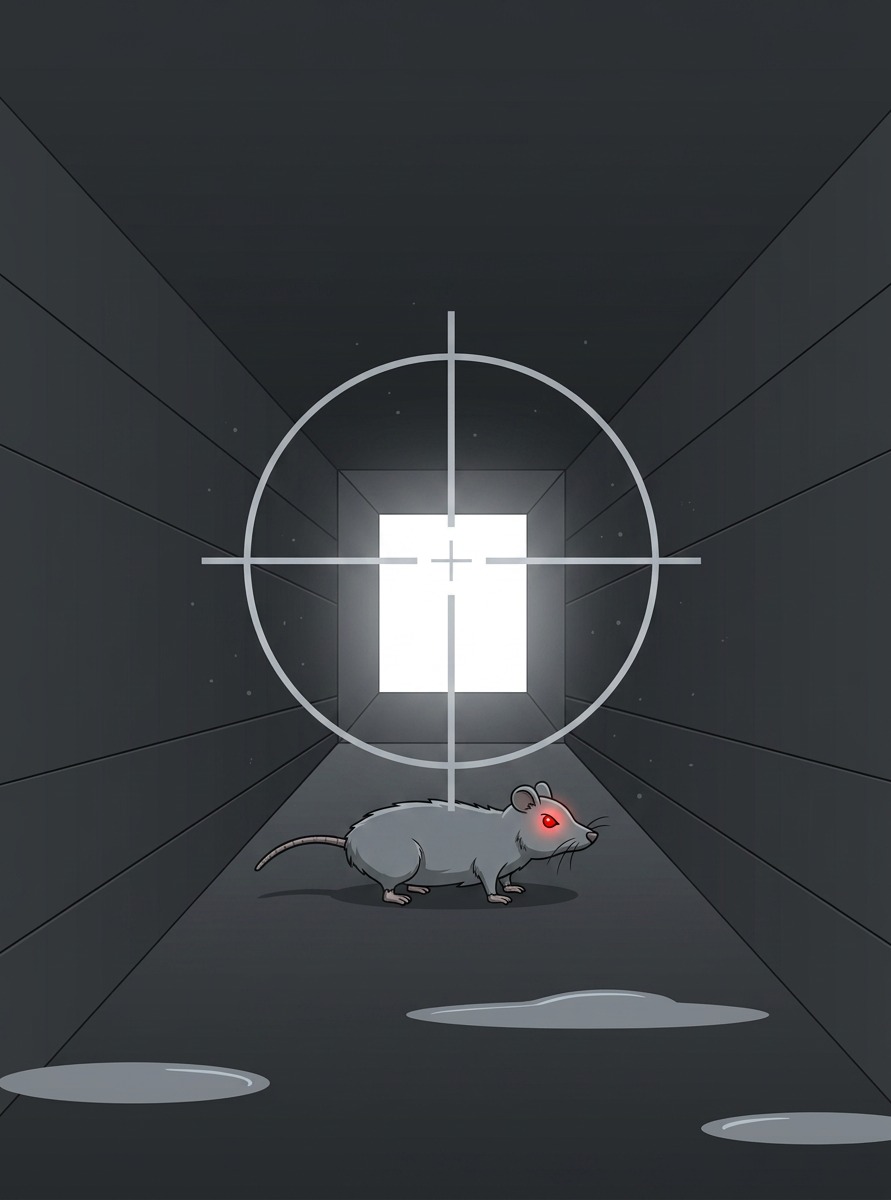
Rat in a crosshair — title illustration

Why I Can’t
Work From Home

Rats chew wires for a mix of biological needs, environmental factors, and opportunistic behavior. The behavior is common in urban, agricultural, and domestic settings and has predictable causes and consequences.

— Rando on Quora

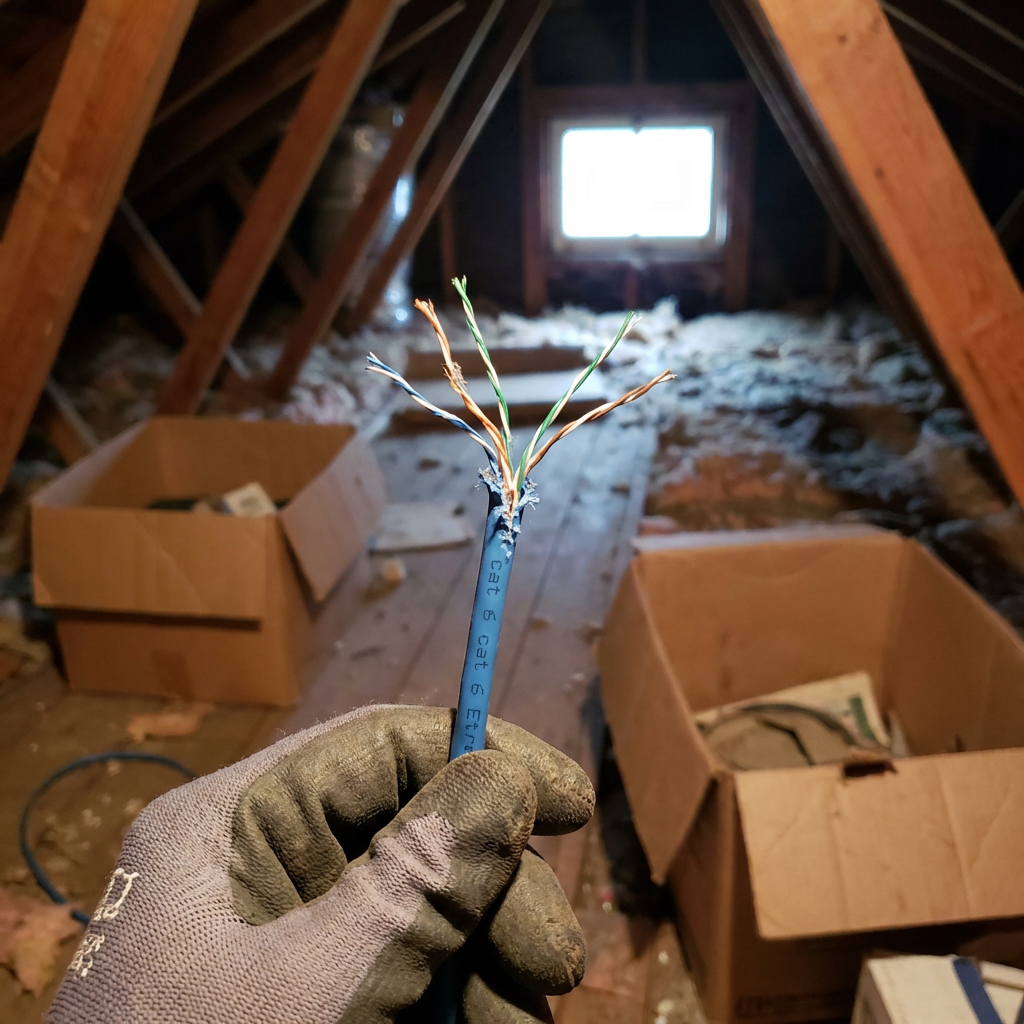
Chewed Cat-6 cable held in a gloved hand, attic in background
Dramatization
⚠️

Disclaimer

“Vegetarians, and their Hezbollah-like splinter faction, the vegans … are the enemy of everything good and decent in the human spirit.”

— Anthony Bourdain, Kitchen Confidential

Pulse Check
!! This talk contains: rats, ballistics, and at least one dead rat !!
Act I  ·  setup

The Trap Didn't Work

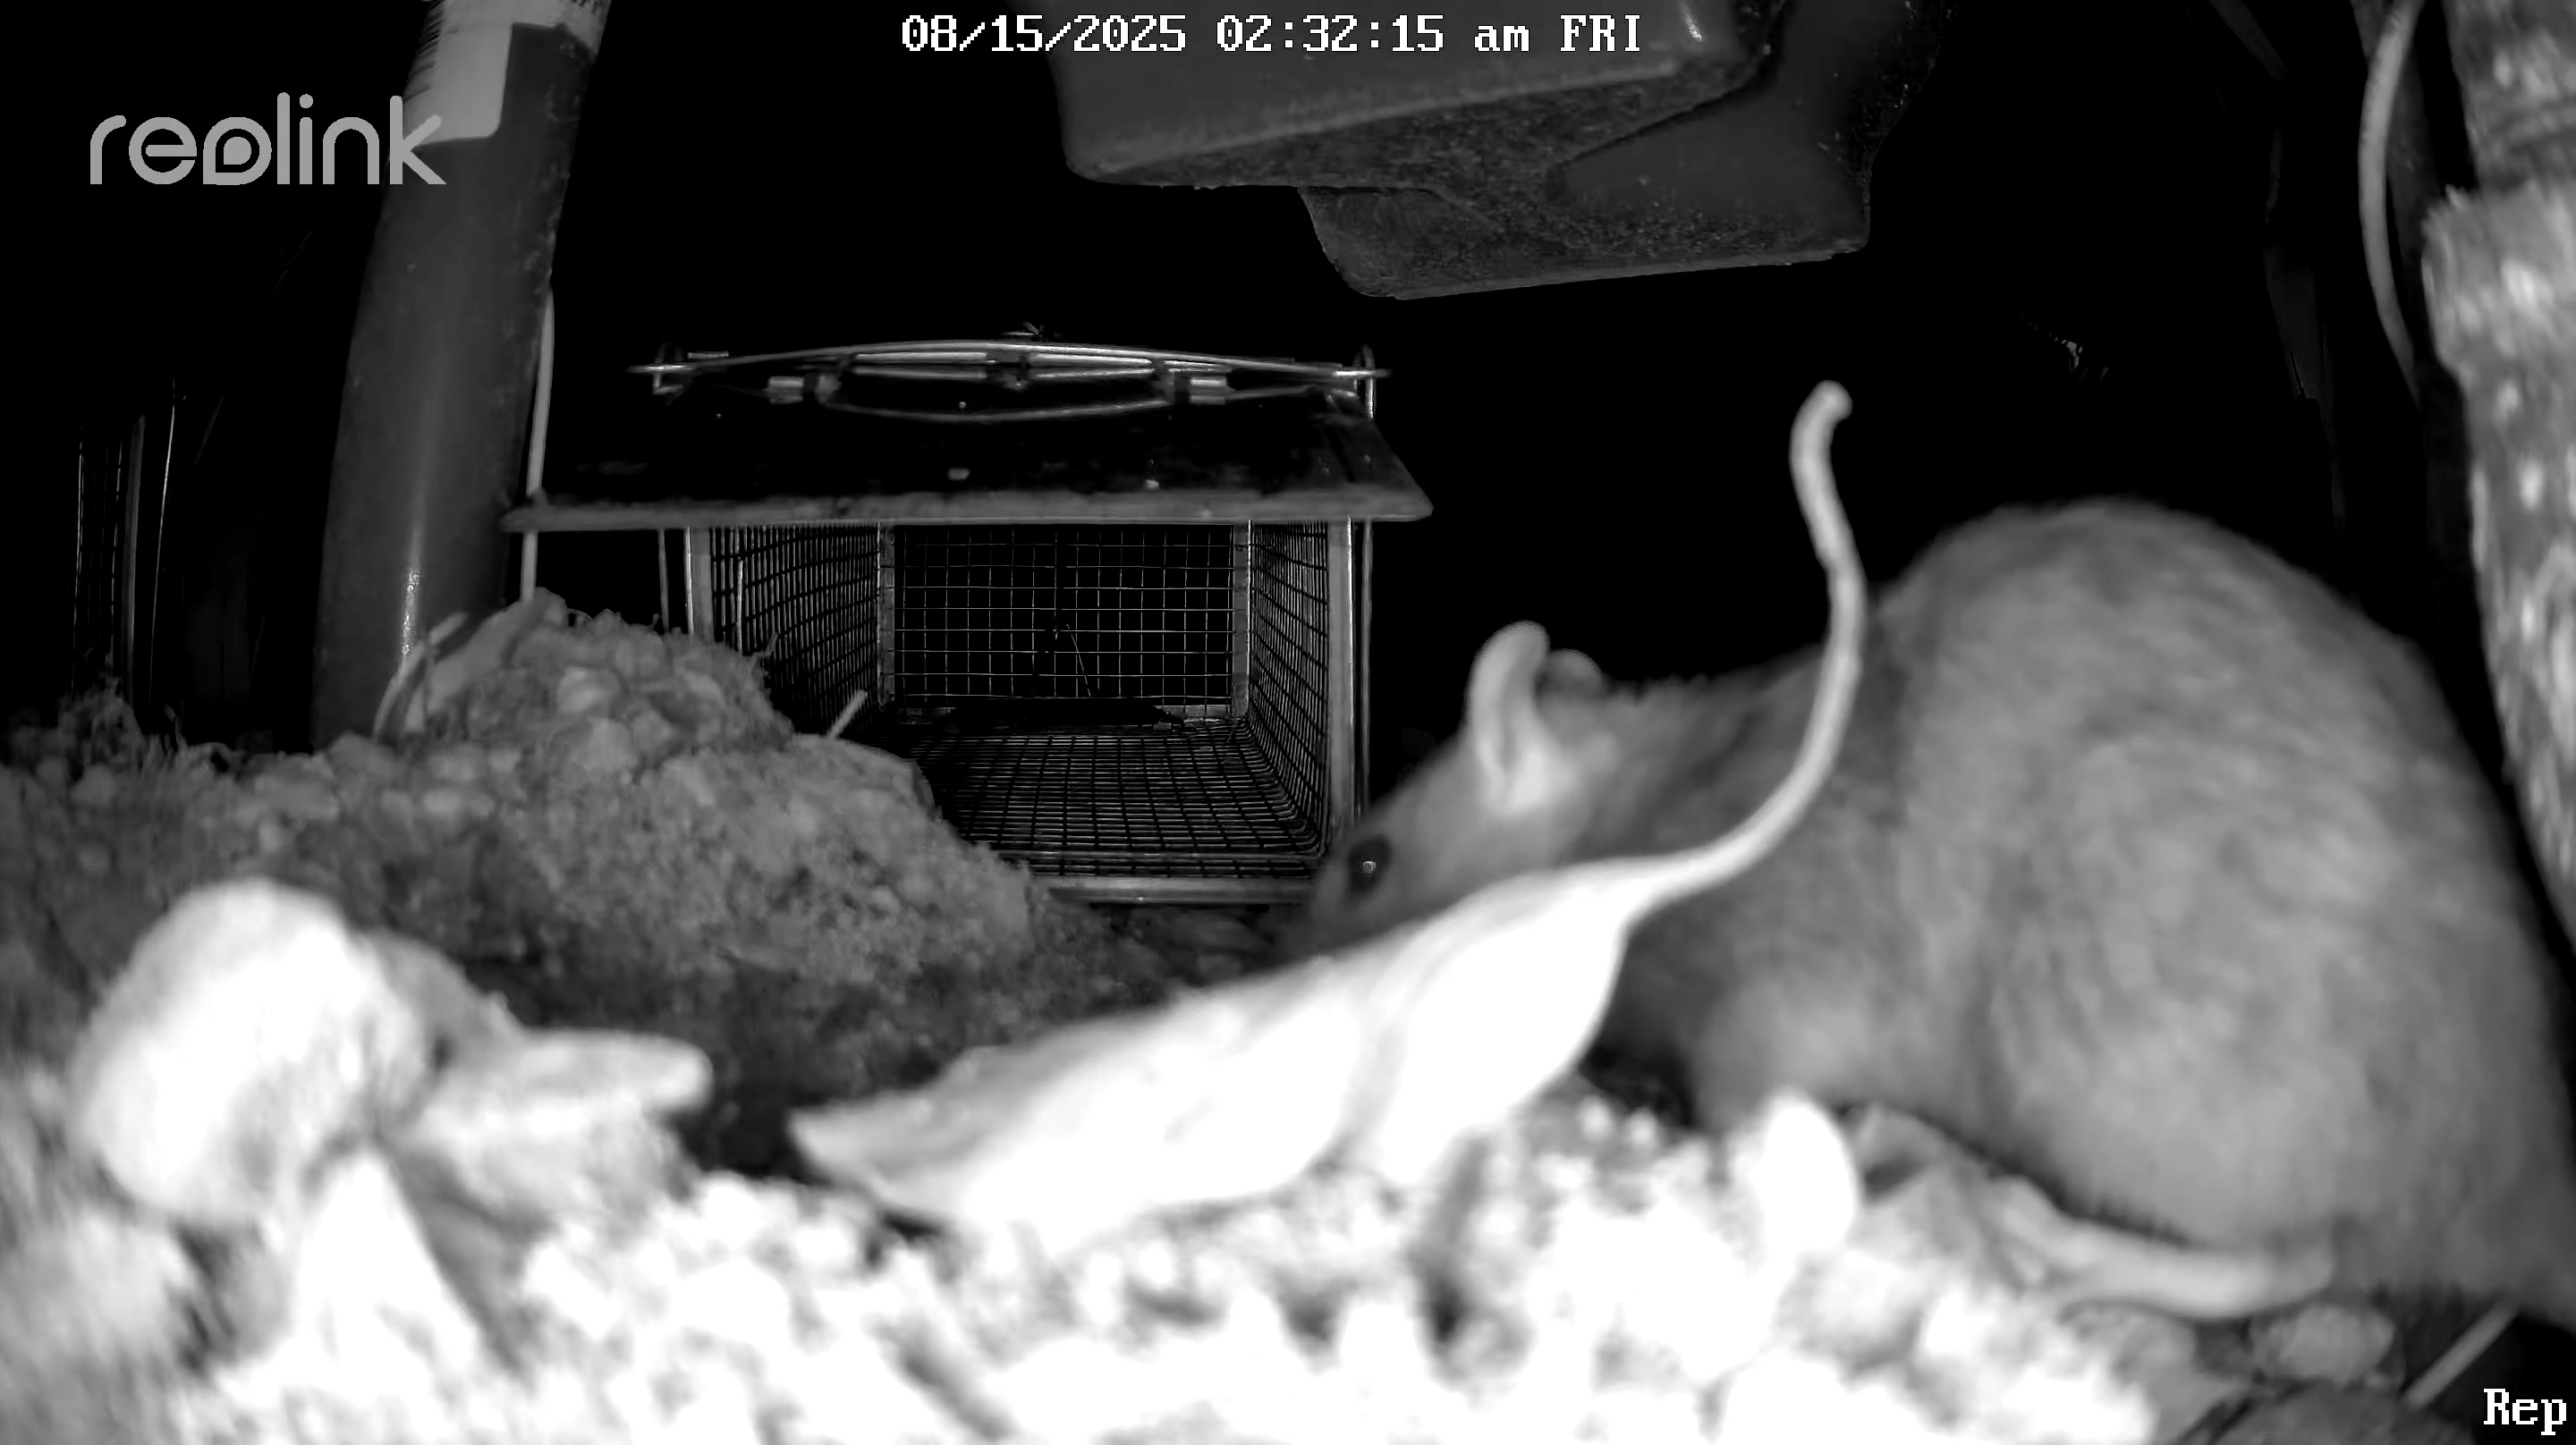
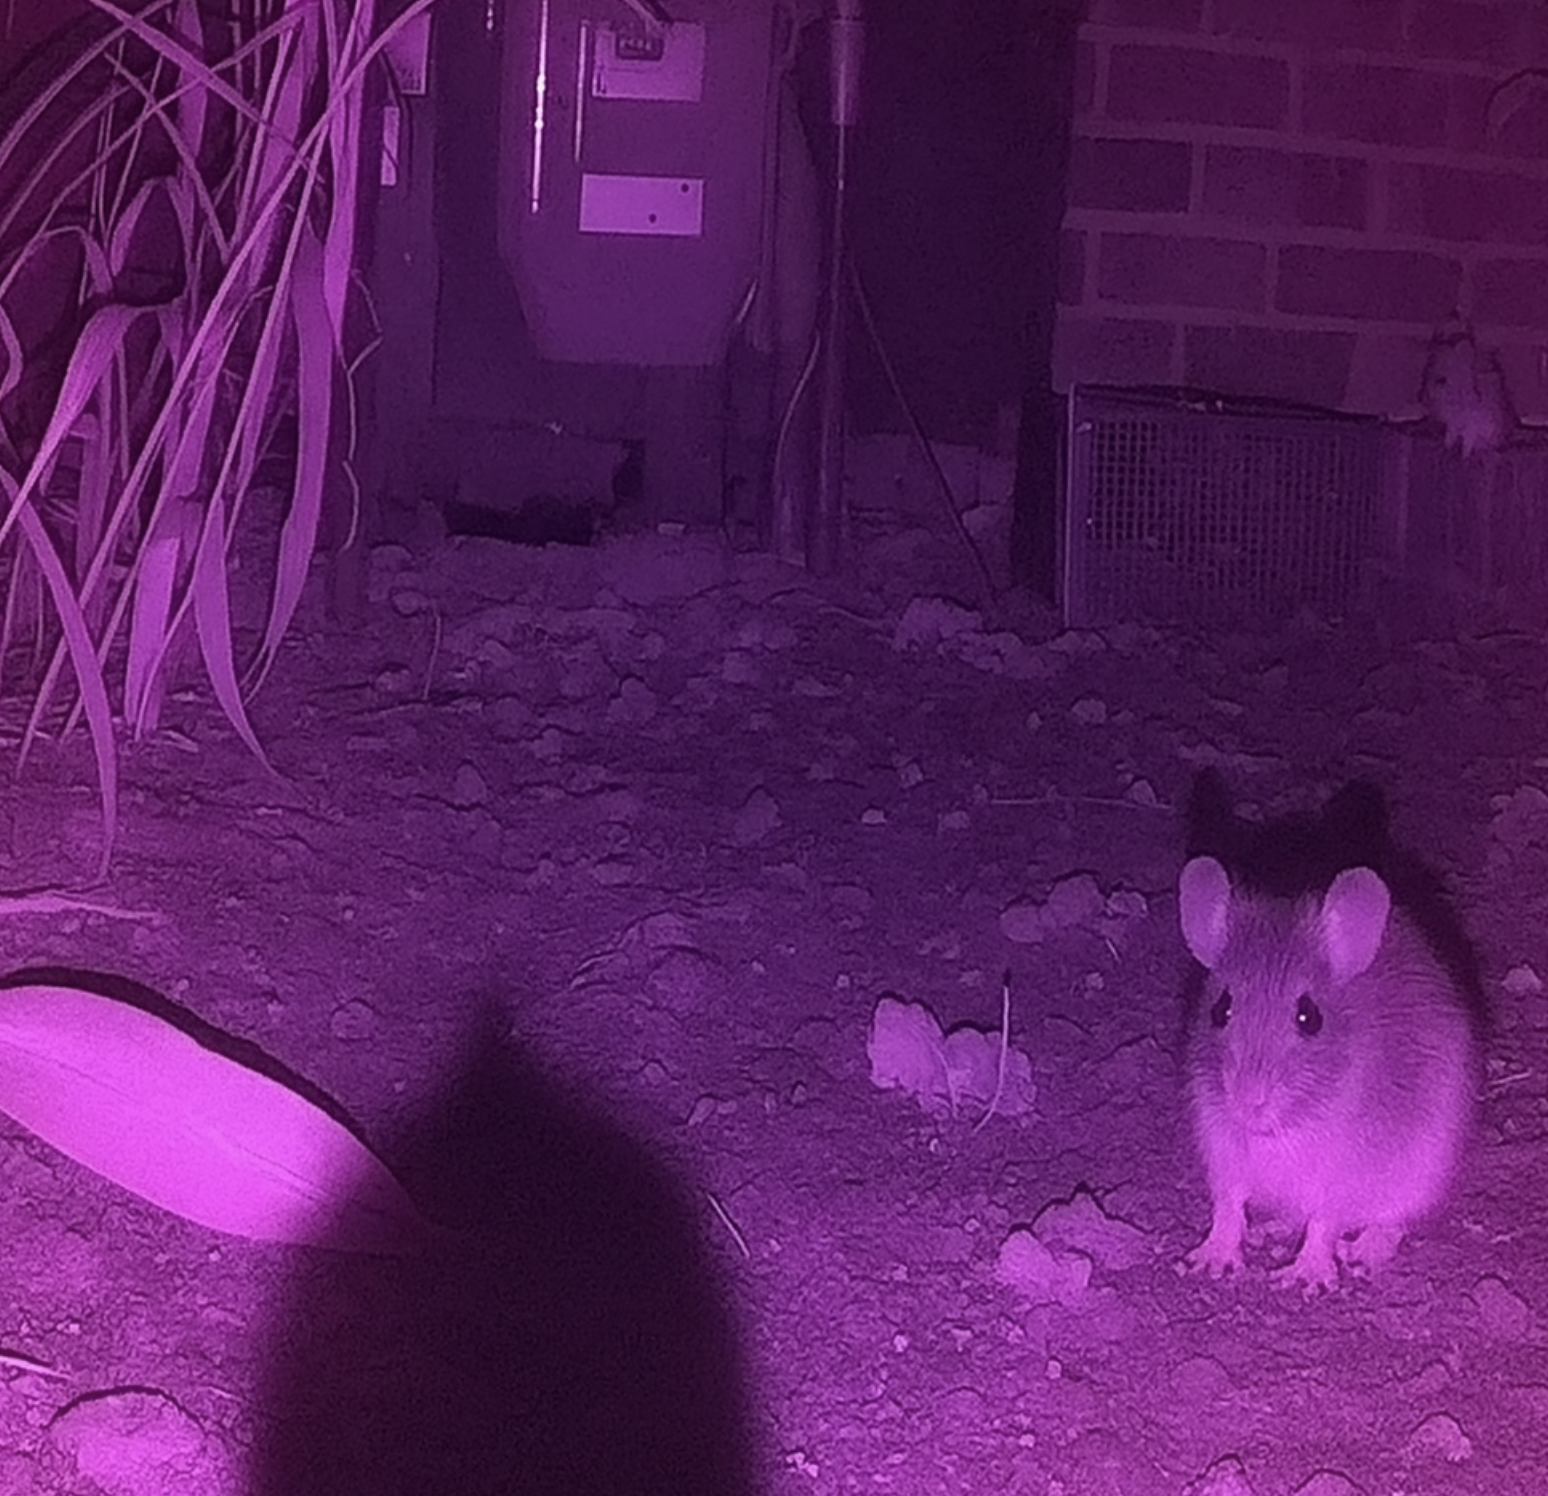
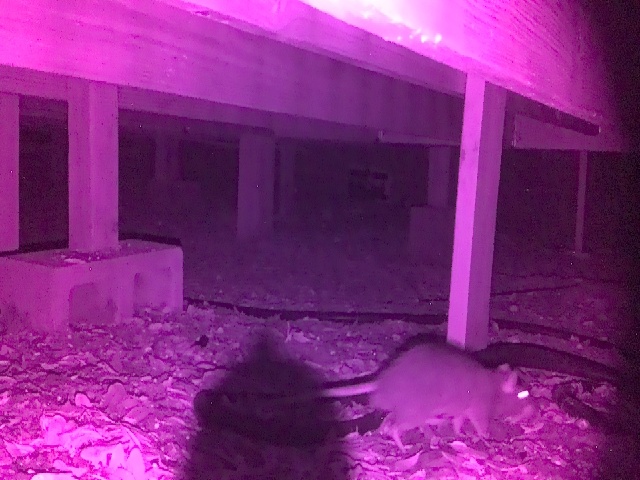
Rat ignoring a cage trap, captured on Reolink IR camera
08/15/2025 · 02:32 AM · rat walks past baited cage

Bait in a cage. Rat walks up, sniffs, keeps going. Peanut butter, cheese — same stuff that worked on other rats before. Nights went by. The cage stayed empty.

If the rat won't come to me, I need something that can find the rat and do something about it — on its own.

The plan, roughly
Detect with ML Trigger a response (later: aim + shoot)
The reasonable option

Normal Rat Extermination Project

Monday
Tuesday
Wednesday
Thursday
Friday
Saturday
Call Exterminator
Exterminator Sets Traps
Rats Removed
Go to the beach with family
More Beach 🏖️

~$300/month. Done in a week. Zero emotional scarring.

05
The unreasonable option

Rat Extermination With ML

August
September
October
November
December
January
Research
Train ML Model to Detect Rats
Experiment with 3D Printing Designs
Program & Wire up Servos
Ballistic Testing
Maybe Rat Eliminated?

I am an engineer.

Hours
400
Out of pocket
~$800
Rats confirmed dead
1
06
v1  ·  training

YOLOv8n on a MacBook Pro

Nothing fancy. Single-class detector, trained locally on the laptop I already had.

architecture YOLOv8n
hardware MacBook Pro · M-series GPU (MPS)
input 640 × 640
epochs 80

Looked fine on validation. That should have been my first warning.

Reolink IR capture — rat near trap, detected by YOLO
rat · 0.92
reolink · ir · training exemplar
mAP@0.5  0.94 precision 0.91 recall 0.88
hardware · v1 rig

A servo that pulls a trigger.

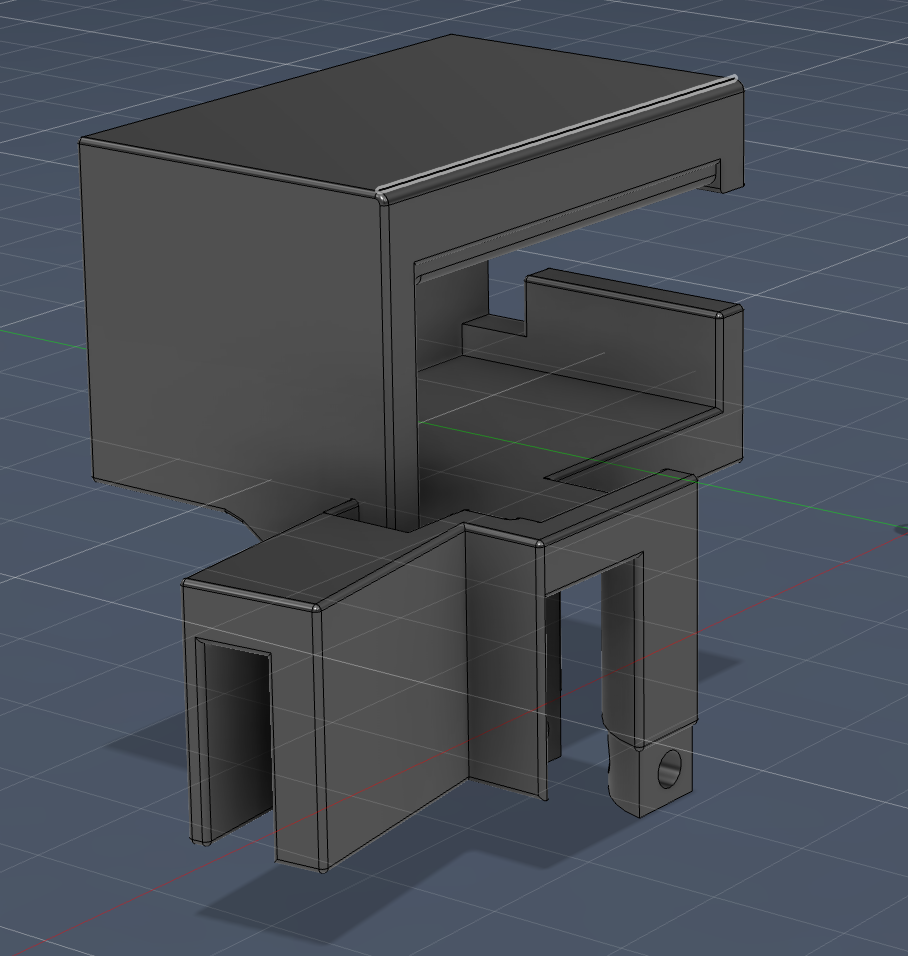
Printed mount clamps over the trigger guard of a Daisy pellet rifle. A single micro-servo arm pivots down and pulls the trigger when the detector sees a rat.

(There's also a shell script you can SSH in and run, if you want to fire it manually.)

Design notes
3D printed, bolts around the trigger guard.
Servo horn contacts the trigger blade at a 90° arc.
Tradeoff: the mount blocks the cocking mechanism from opening.
Daisy pellet rifle Single-shot, then reset by hand Fusion 360 · PLA
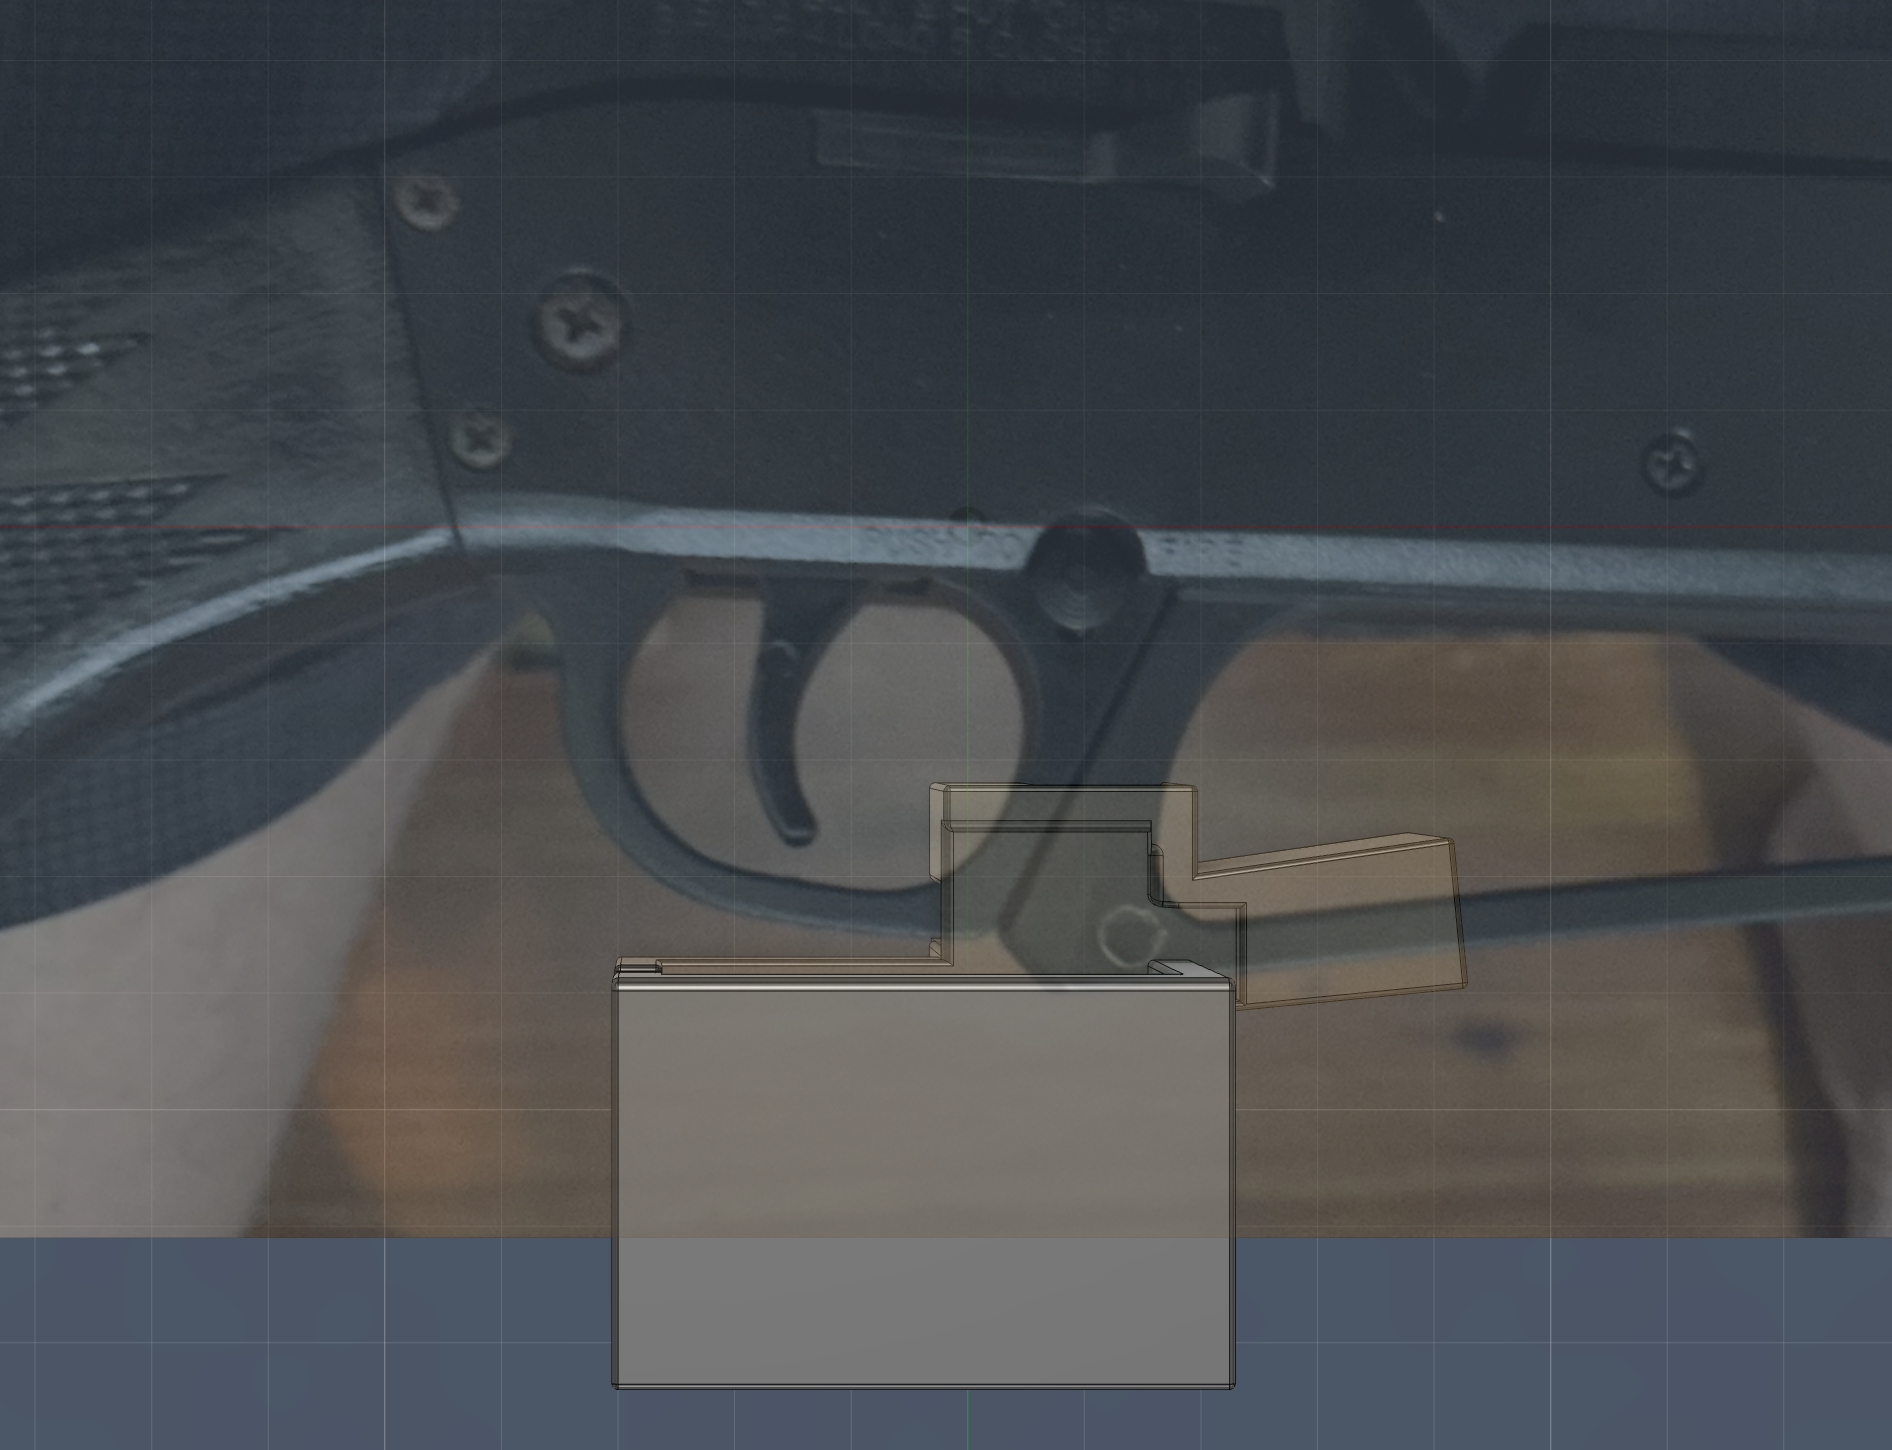
Trigger mount CAD overlaid on the actual Daisy pellet rifle trigger
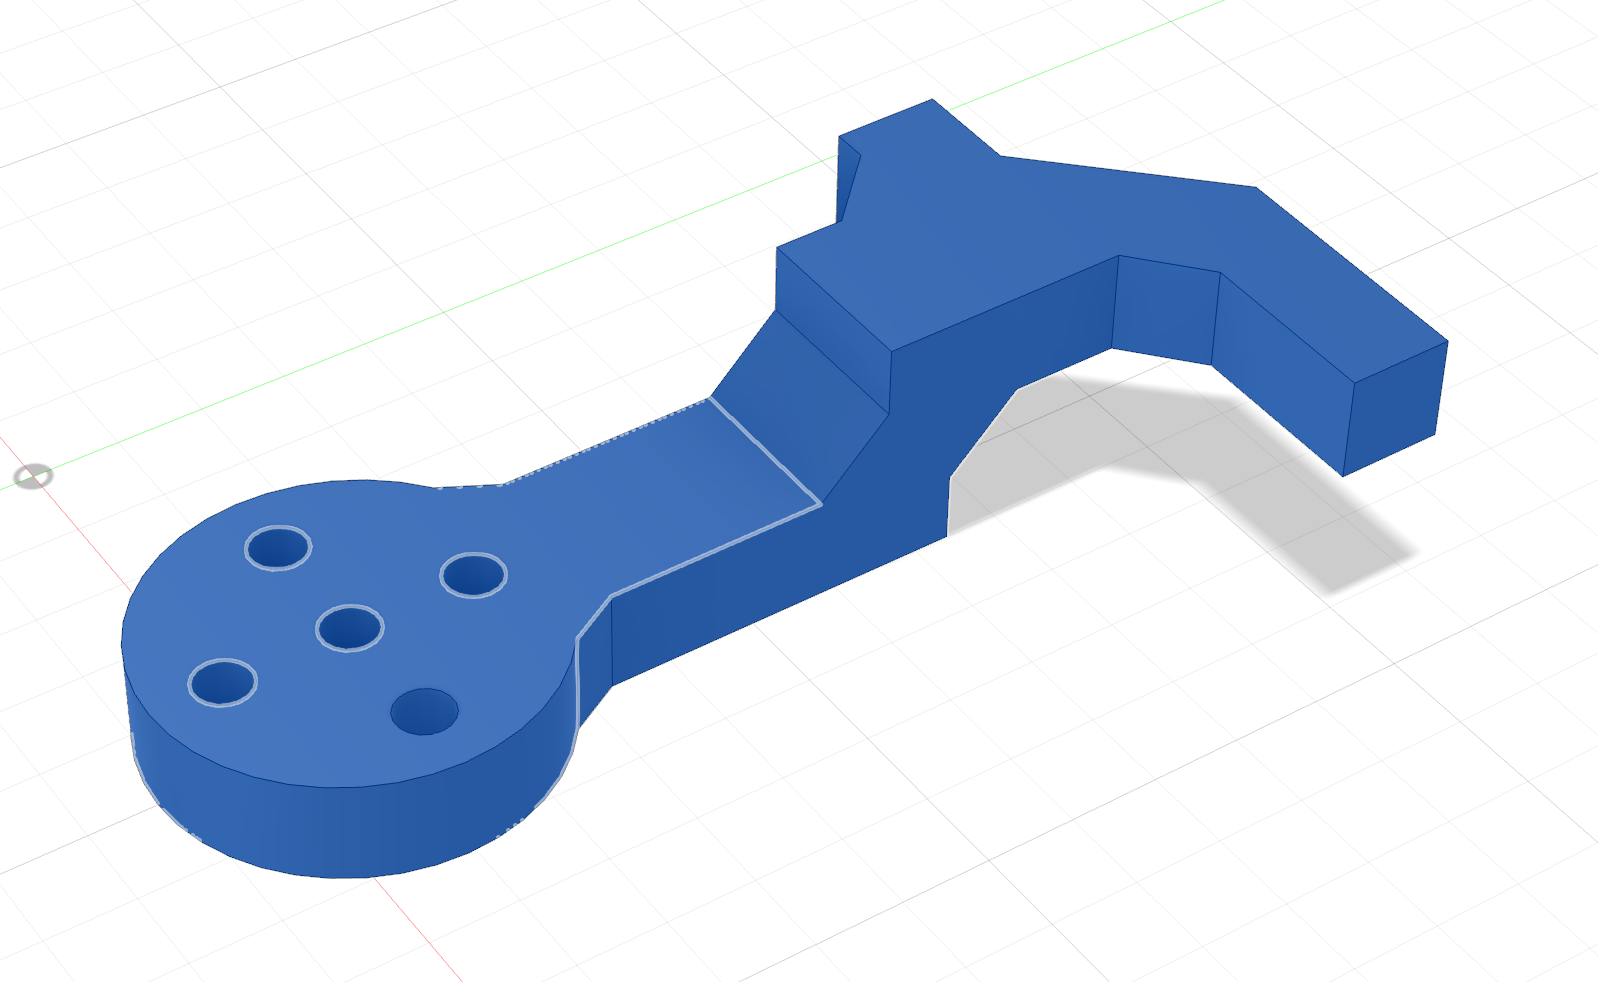
Isolated Fusion 360 CAD of the servo-to-trigger mount
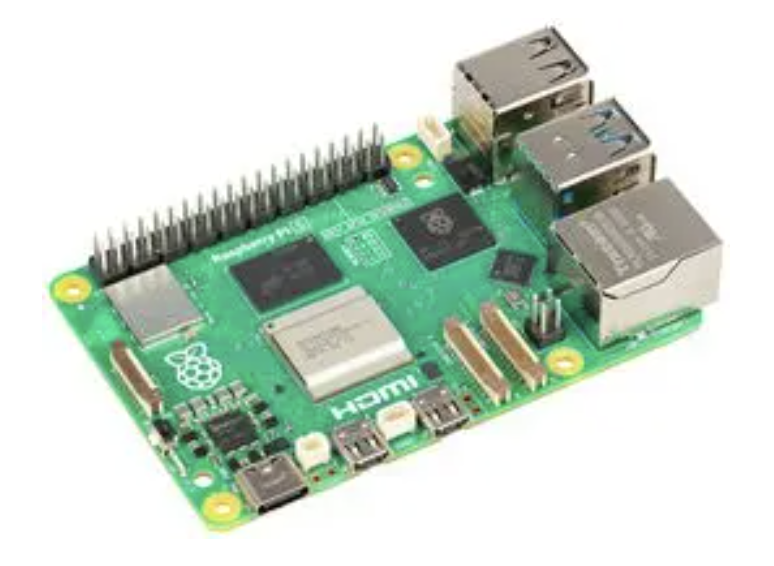
Raspberry Pi single-board computer running the detector
Raspberry Pi
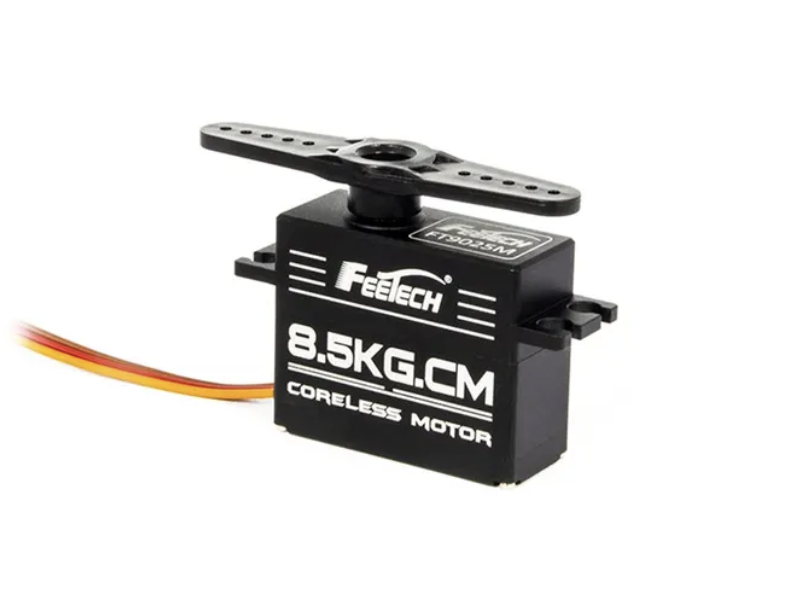
Feetech FT9035M 8.5kg·cm coreless micro-servo
Feetech · 8.5 kg·cm
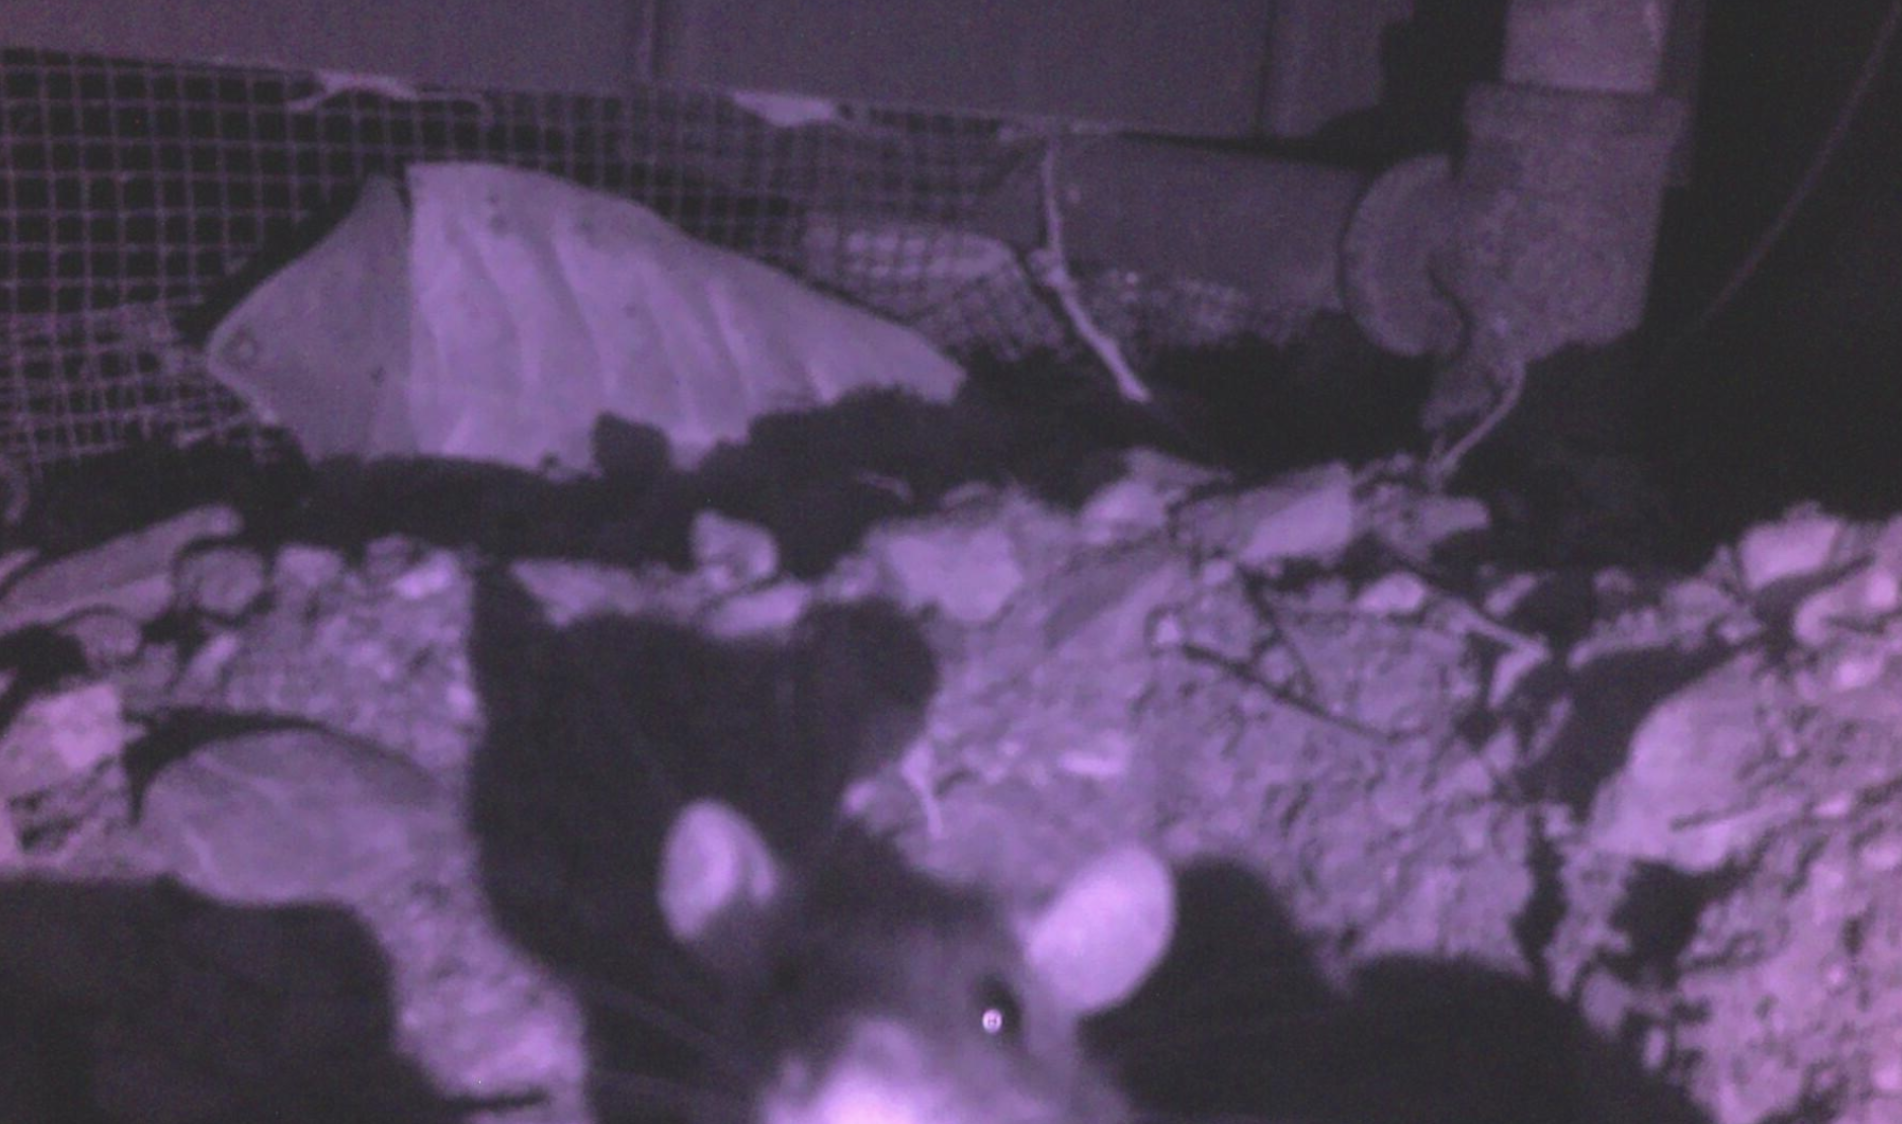
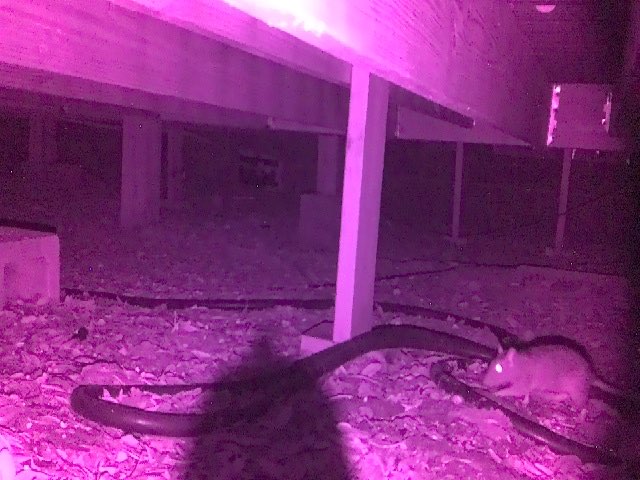
Front-facing rat captured by the rig's IR camera under the deck
rig/pi3-cam · IR · rat arrives head-on · turret didn't fire
v1 · first trial

The rat walked up.
The turret didn't fire.

Pellet rifle with a servo on the trigger. Raspberry Pi 3 left over from another project running detection. I saw this photo the next morning in the rig's own capture log.

Why it didn't trigger
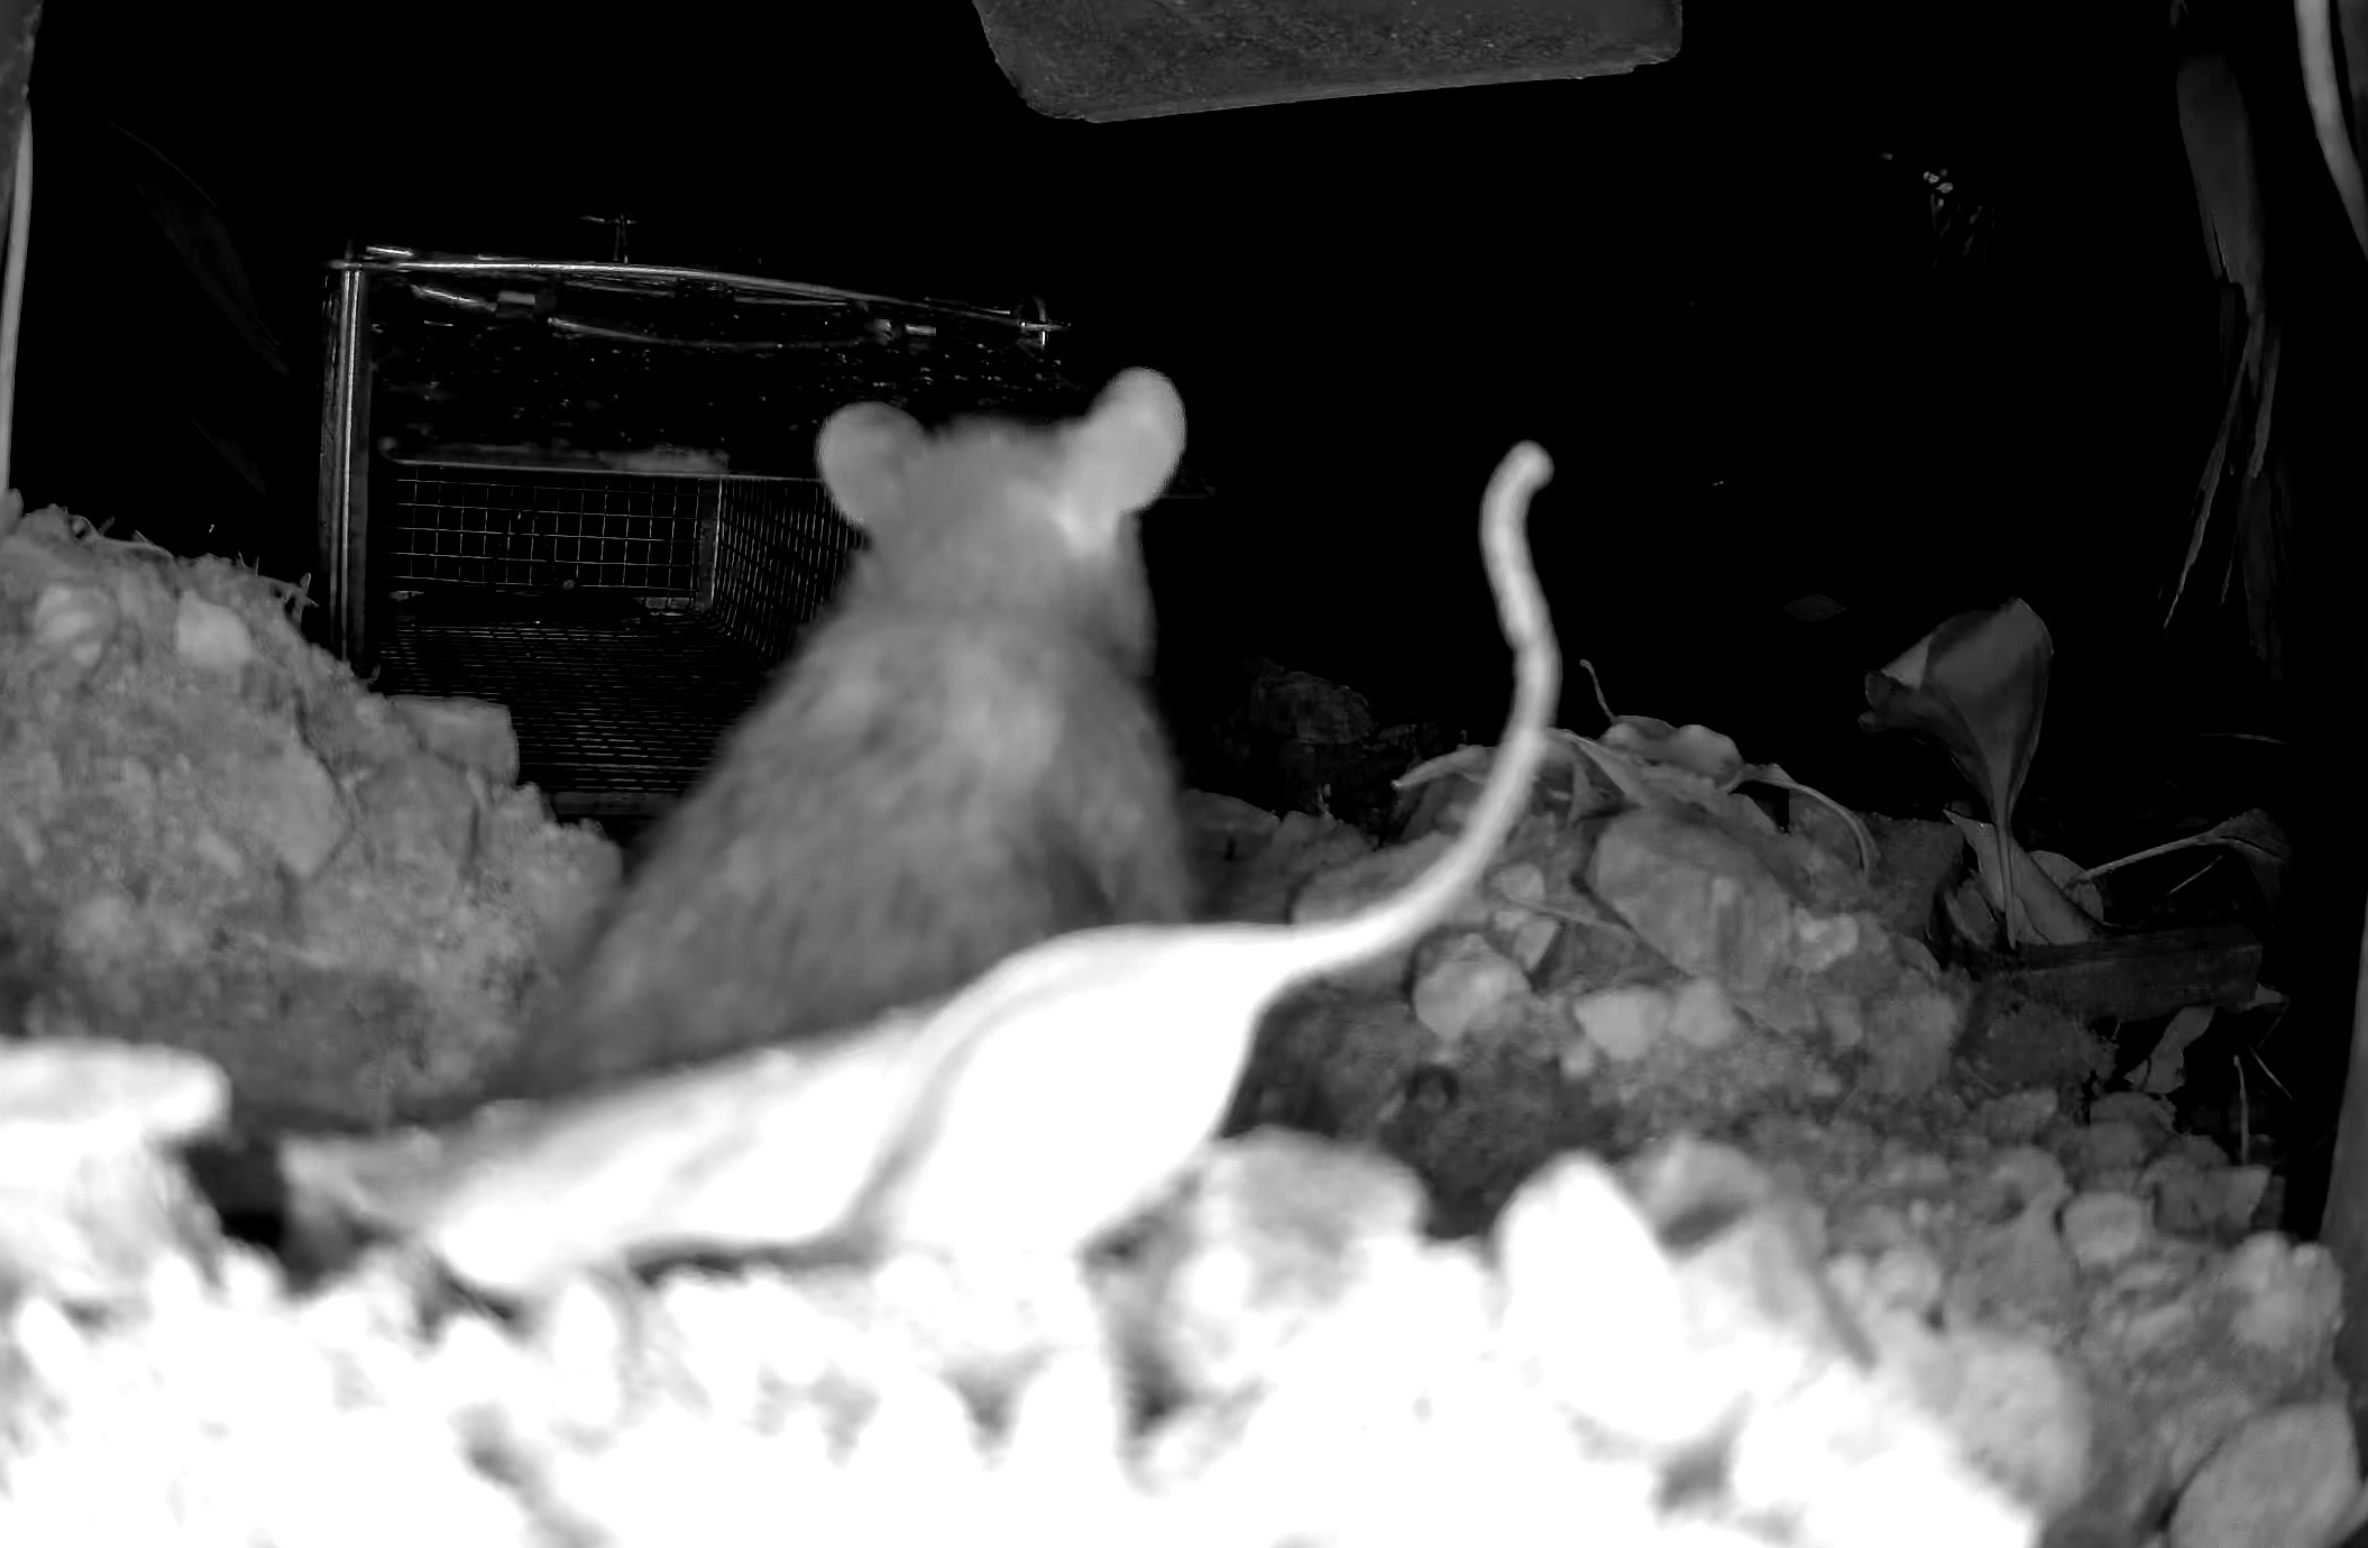
01 Training set was Reolink shots of rats from behind. Deployment rat arrived head-on.
02 Barely any IR low-light frames in training. The rig sees everything in IR.
03 Classic data distribution ≠ deployment distribution.
What I learned sitting here
Narrow shot cone is a problem Need way more rat photos Need IR frames, specifically
v2 · fixing the dataset

More Data, Any Way I Could Get It

Back-facing Reolink frames weren't enough. I added four new buckets — positives from every angle I could get, and negatives of everything that isn't a rat.

Synthetic IR rat generated with Gemini Nano Banana
Source 01 · synthetic
Gemini Nano Banana
IR-tinted rat variations generated to cover angles and lighting I couldn't shoot in the wild.
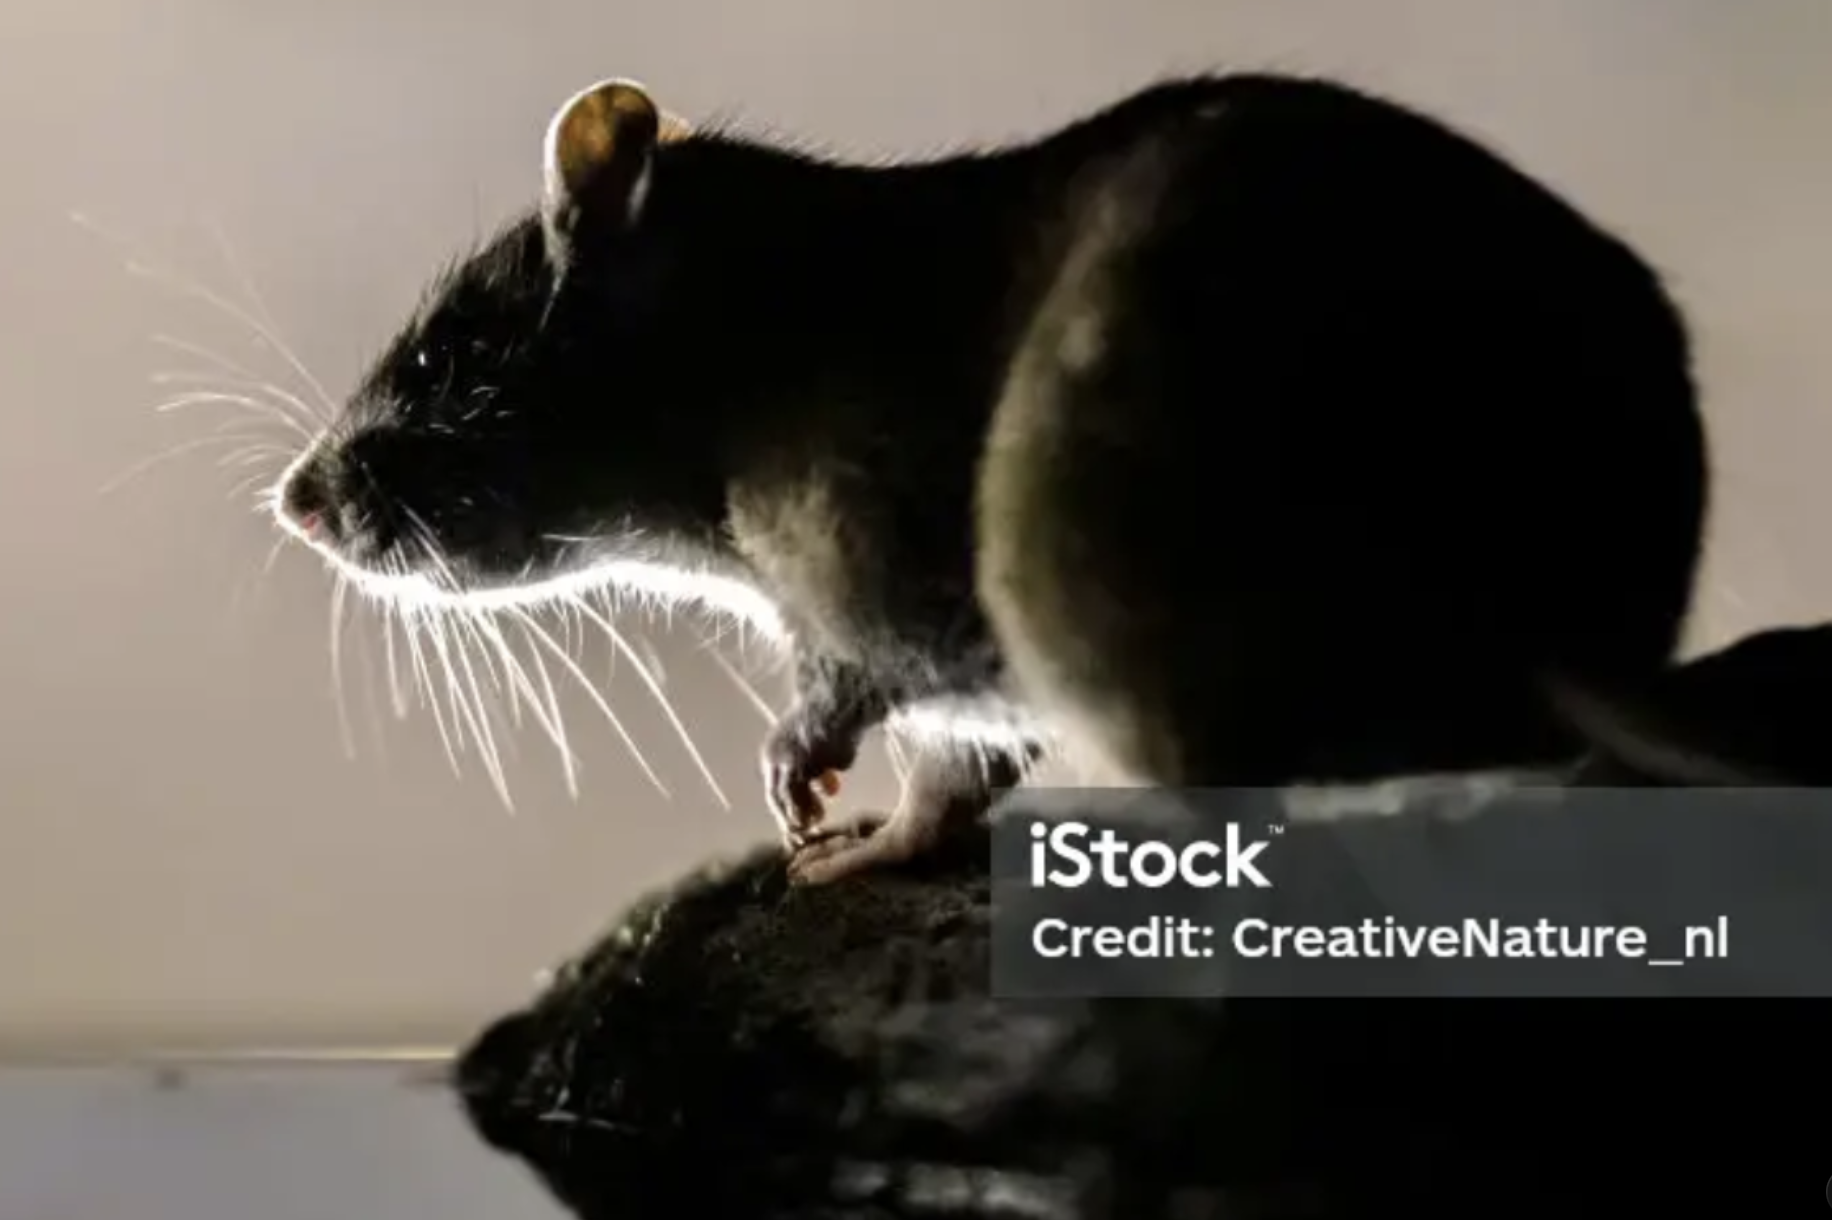
Stock rat photo
Source 02 · scraped
Stock & open web
Rats from every angle. A surprising amount of the internet is just rats.
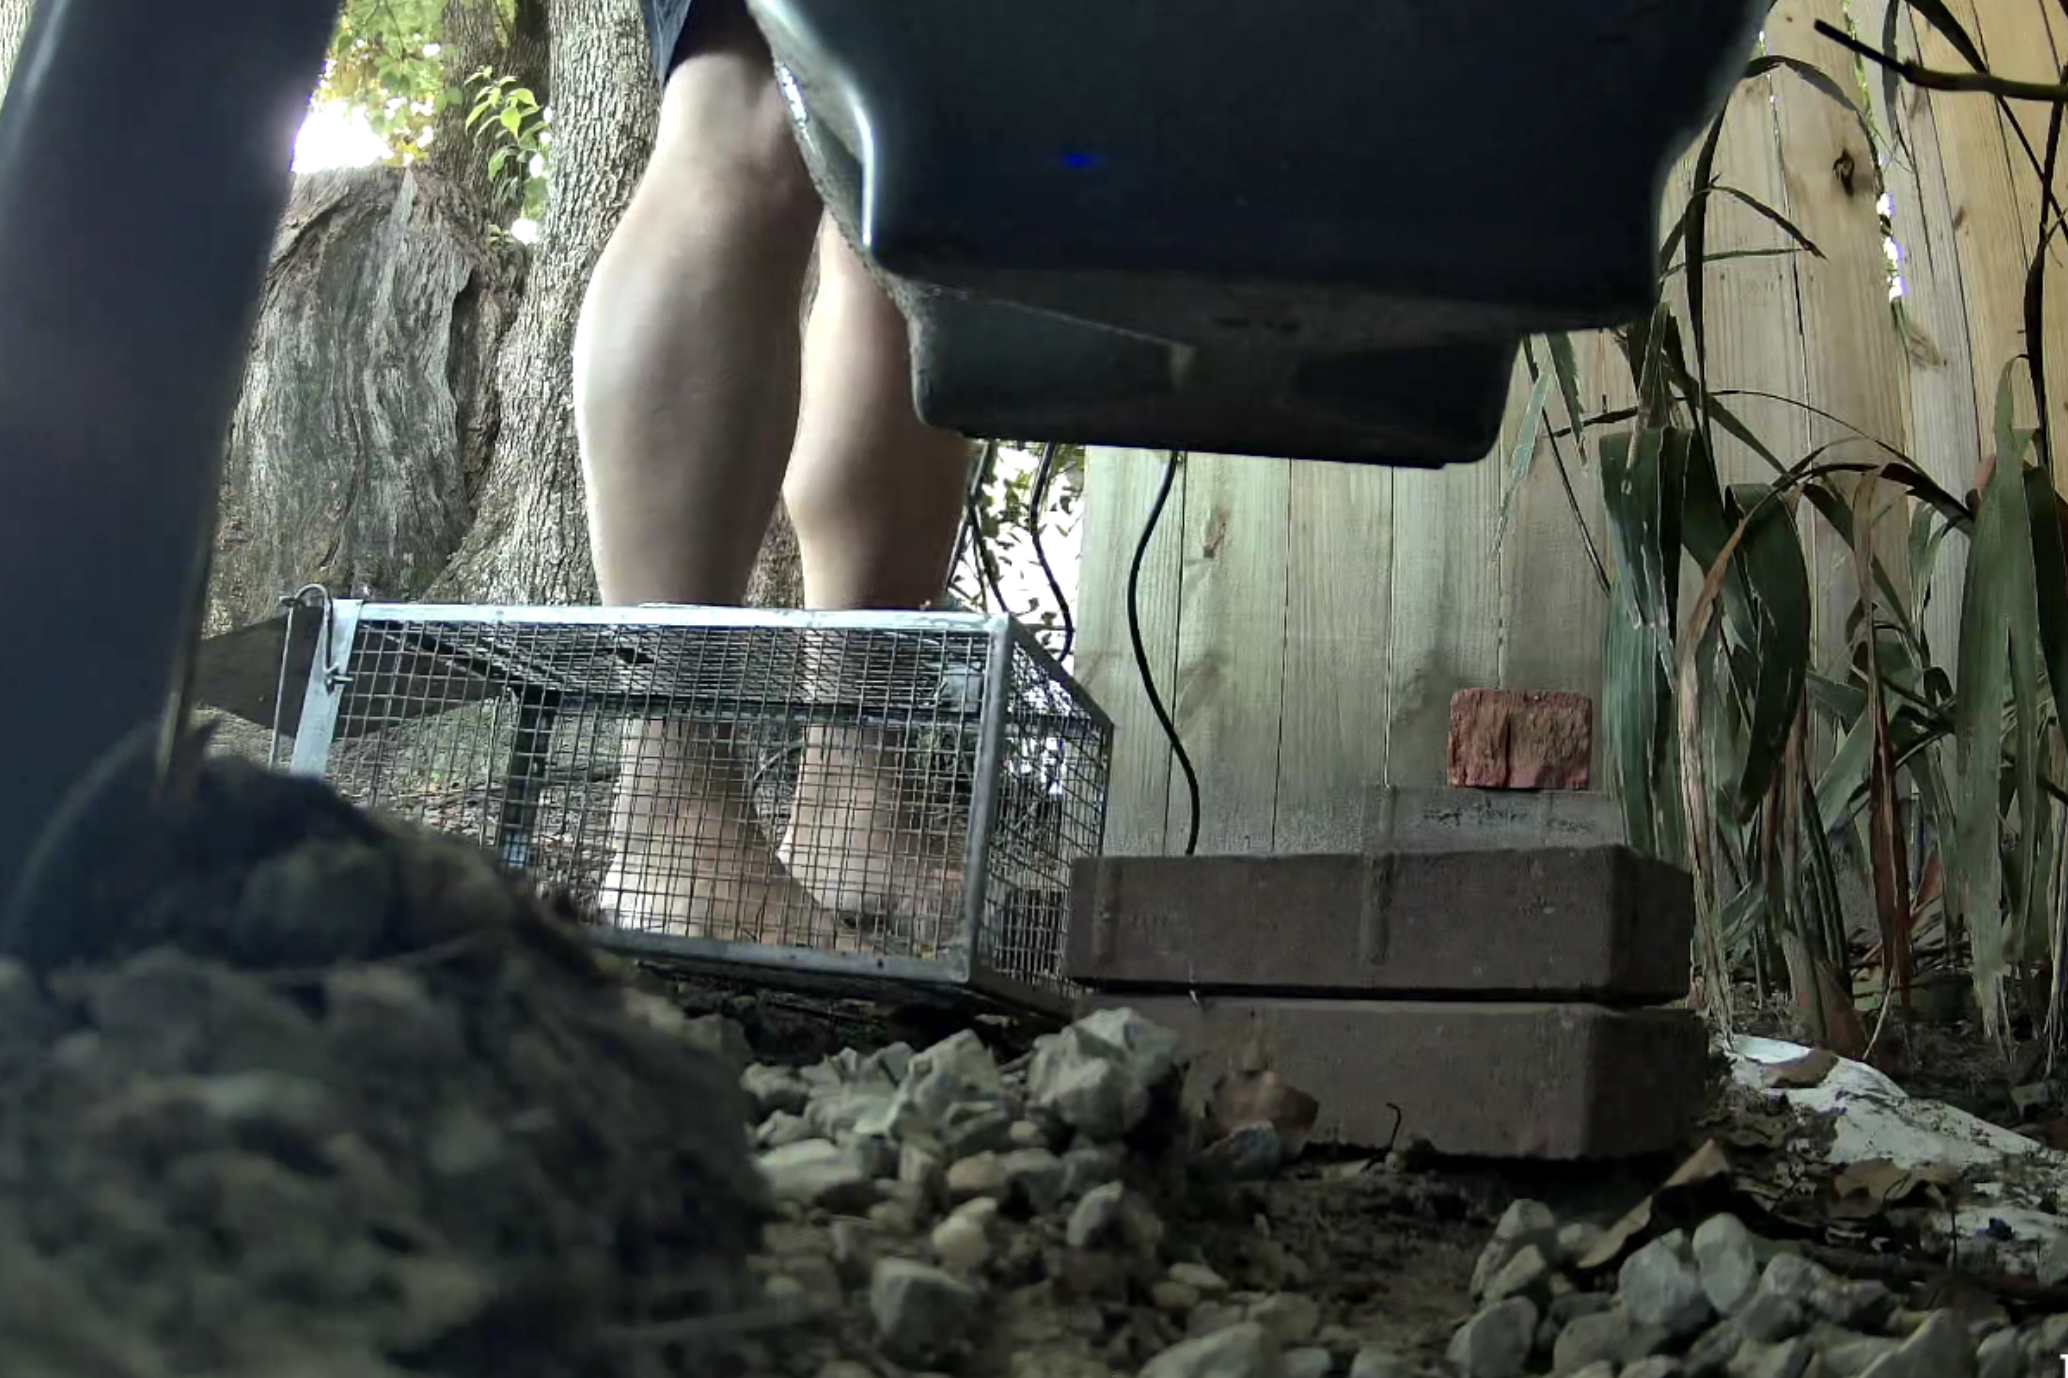
Negative training example — my own legs near the trap
Source 03 · negatives
My own legs
Standing over the rig. Strongly prefer the model does not fire at these.
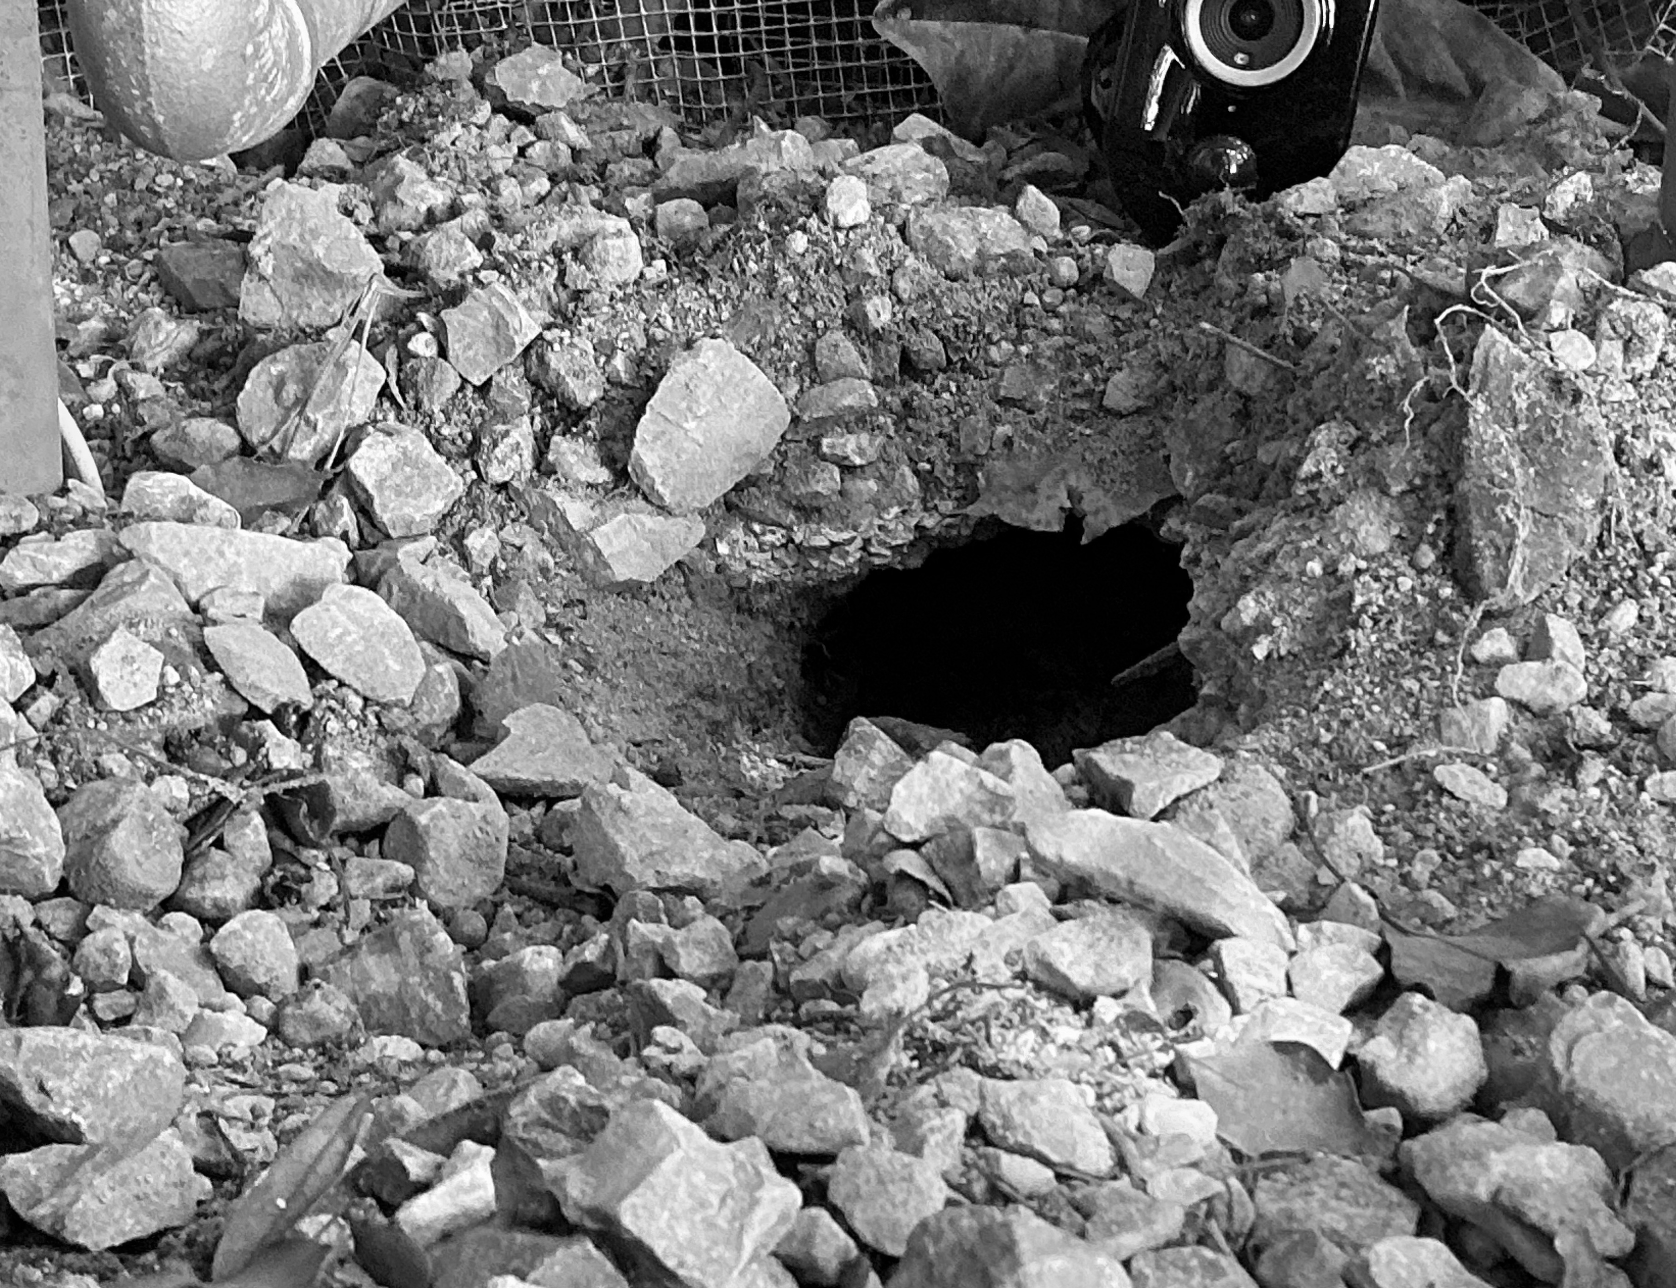
Empty burrow captured by the rig
Source 04 · backgrounds
Empty scenes
The rat hole with no rat. Rocks, leaves, the camera looking at nothing.
v2 · tooling

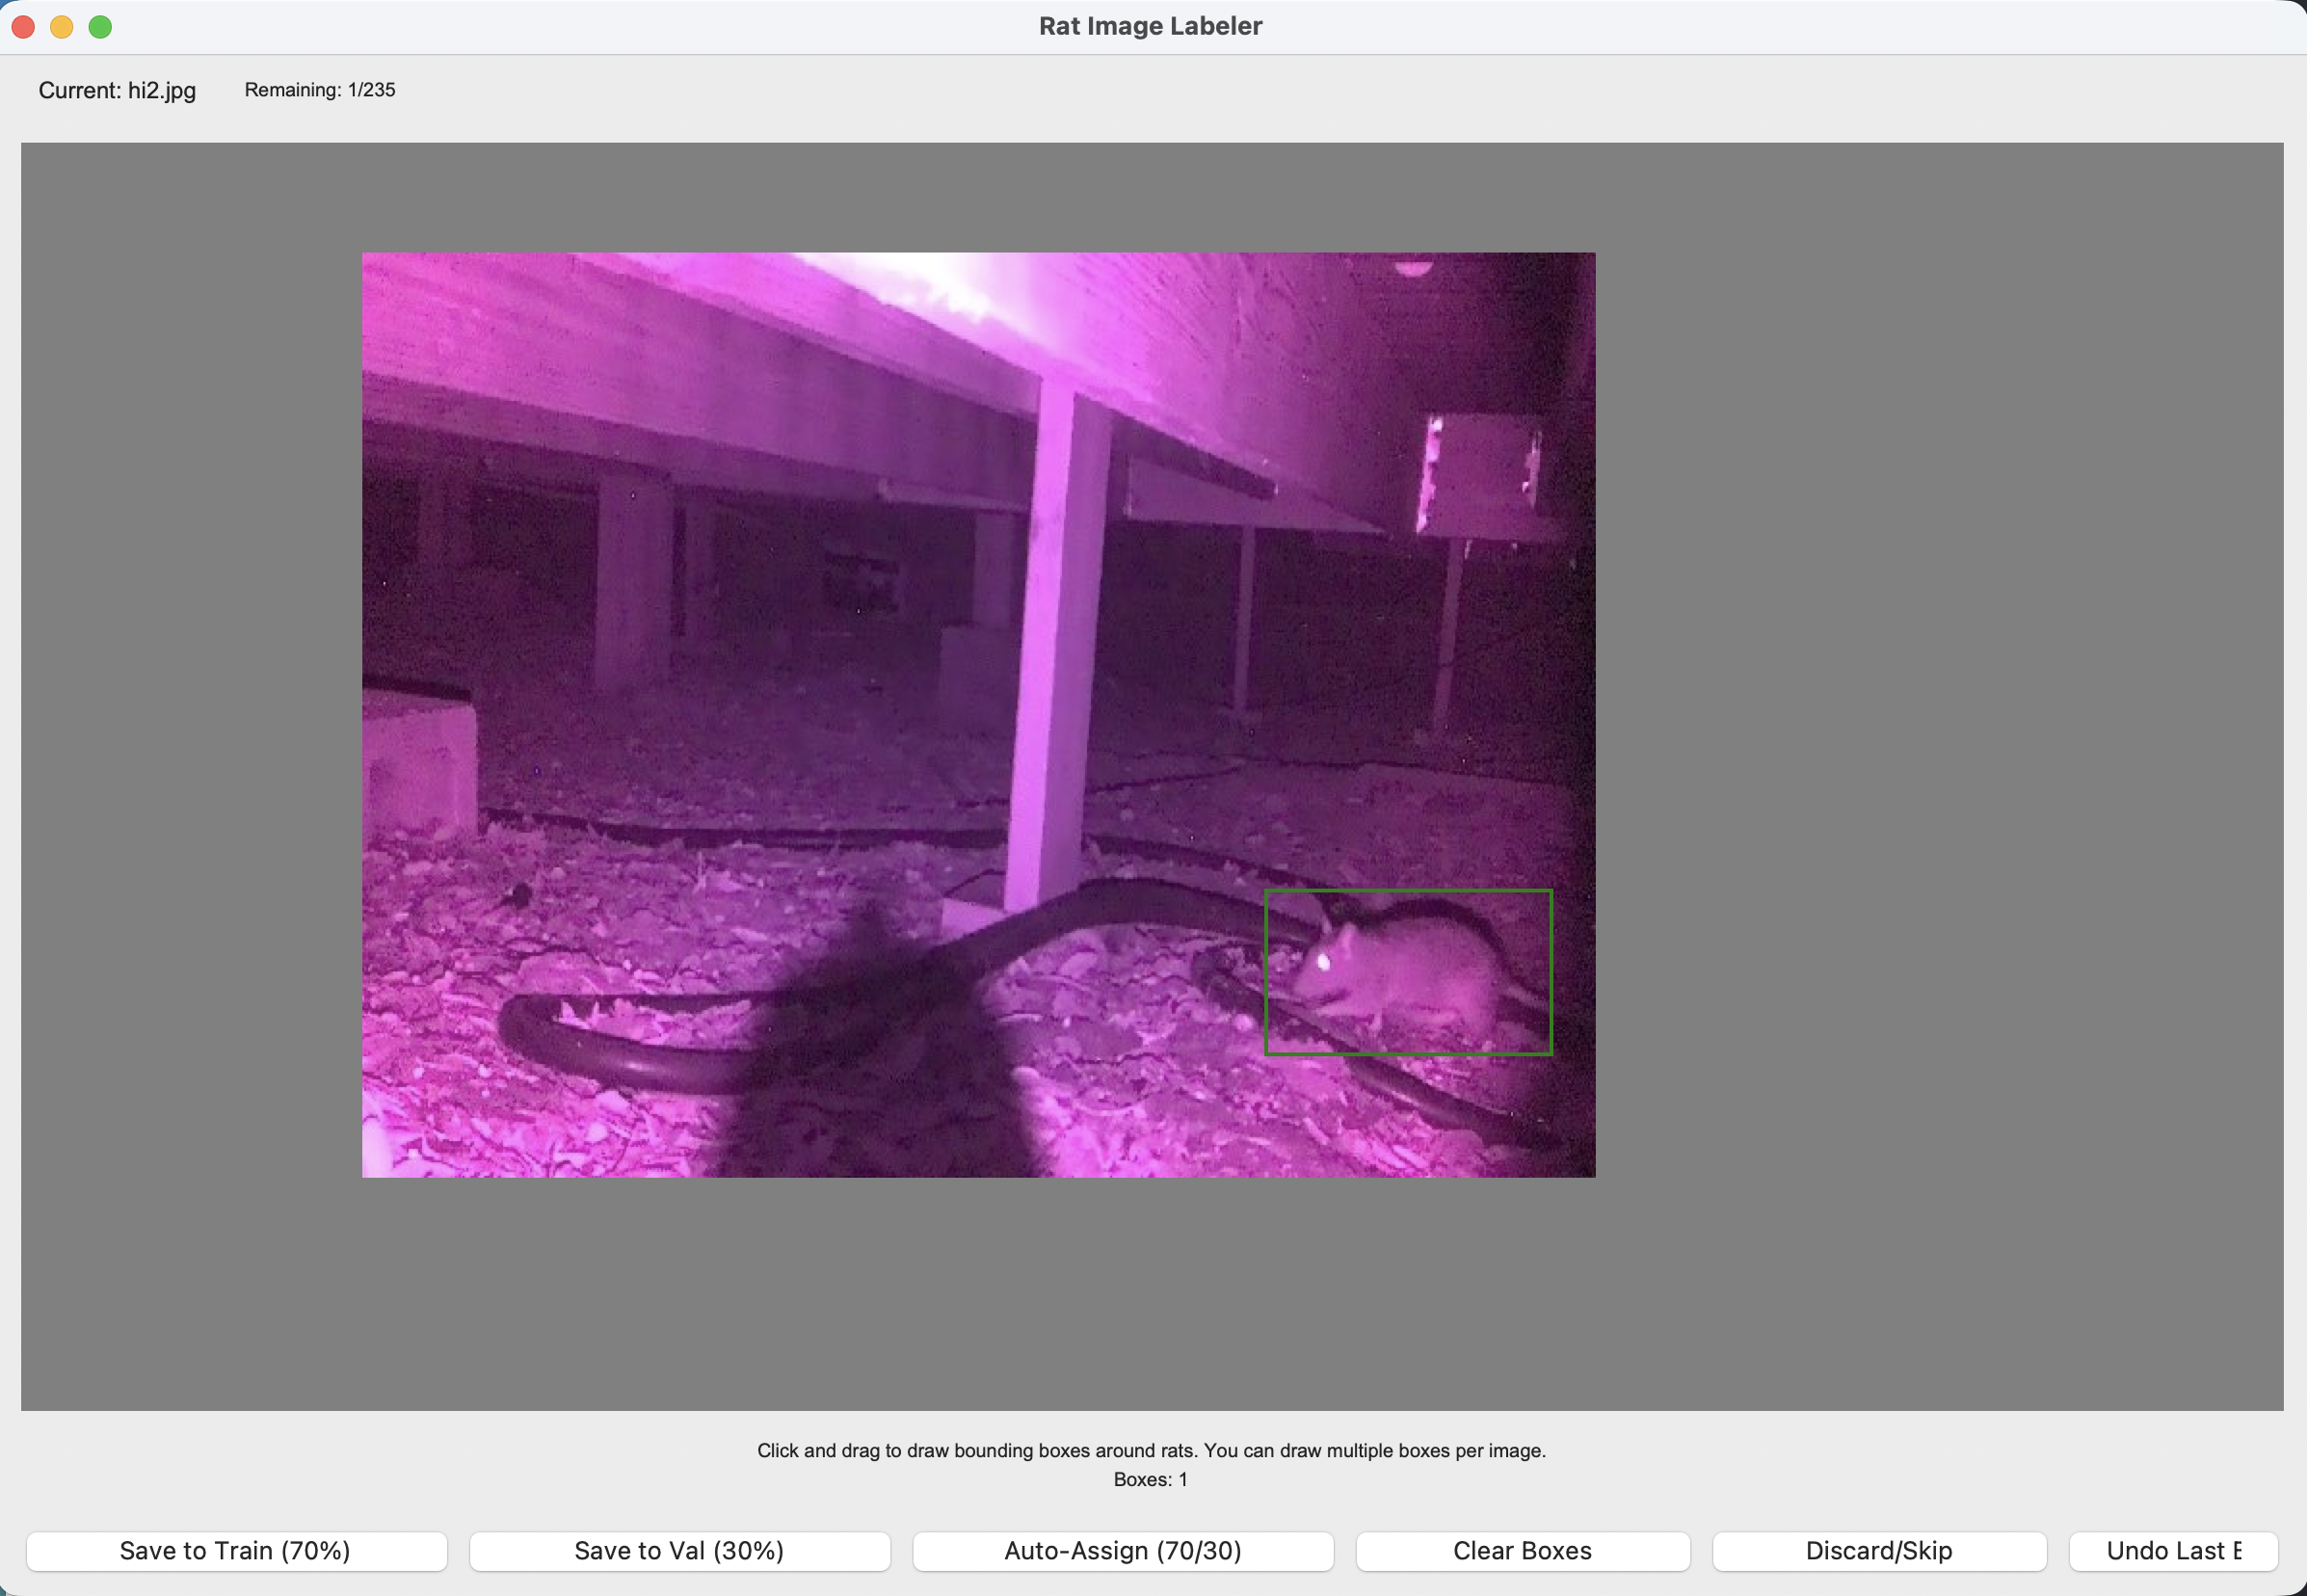
I vibe-coded a labeler in 20 minutes.

Honestly, I just didn't know how to use the existing tools. So Claude Code wrote a single-purpose Python/Tk app that does exactly what I needed — nothing else.

What it does
Draw bounding boxes, multiple per image.
Auto-assign each frame to train/val at a 70/30 split.
Write YOLO-format labels to disk, next image, done.
Claude Code ~20 minutes One file, Python + Tk
Rat Image Labeler — custom bounding-box tool
aiming · false start

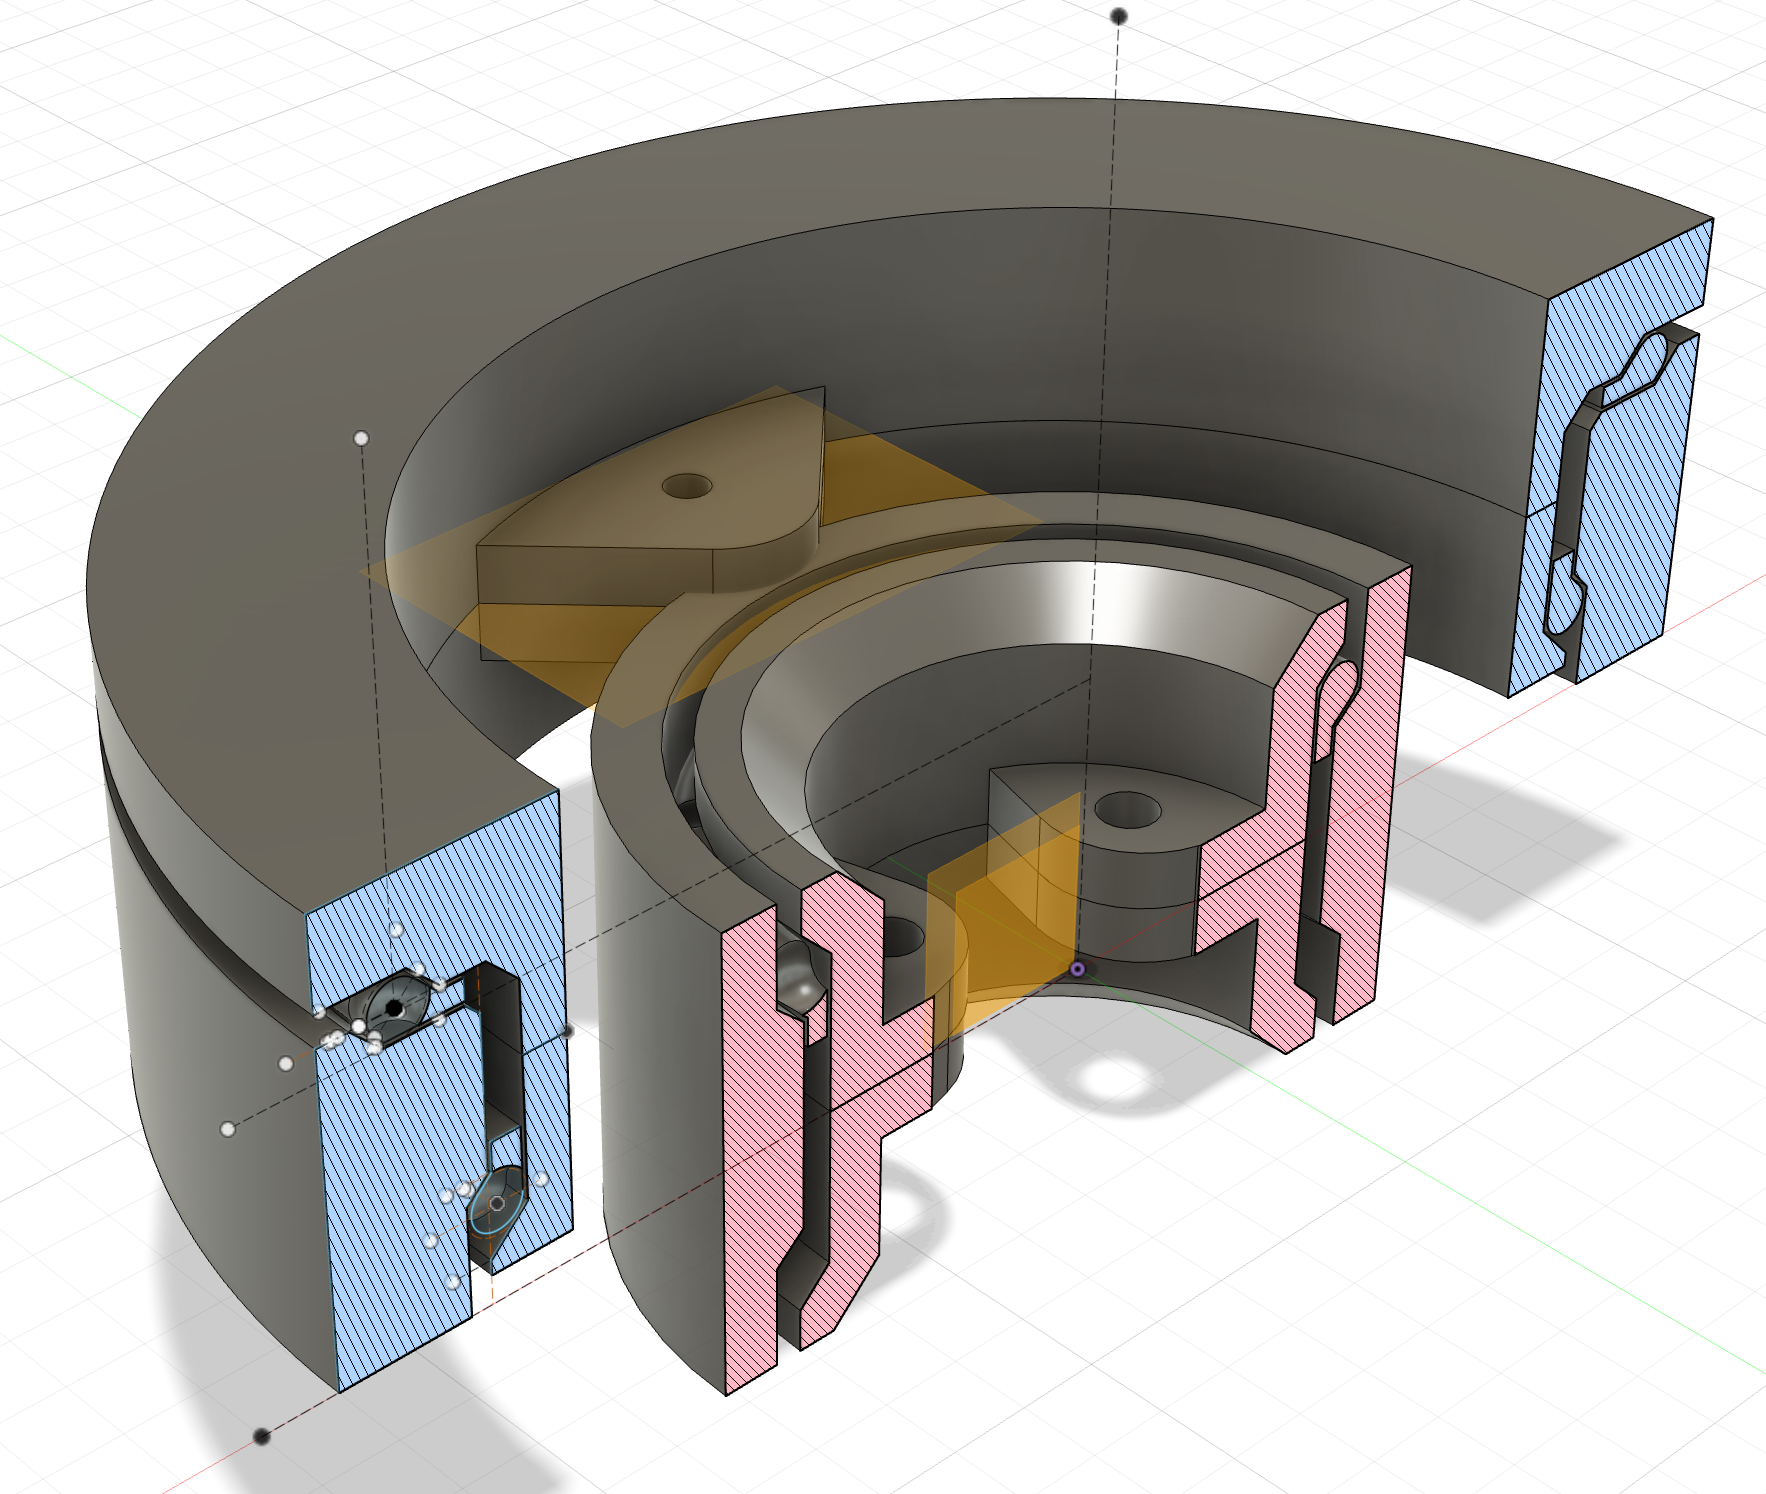
First instinct: over-engineer the bearing.

I assumed I had to carry the full load of the rifle on a custom rotating platform. Sat in Fusion 360 for a weekend — YouTube in one window, CAD in the other — iterating on a thrust-bearing design before touching a printer.

What I thought I needed
A printable thrust bearing to hold the rifle weight.
A dedicated yaw servo driving the whole platform.
A lot of CAD before testing a single assumption.
Fusion 360 Reference: YouTube build Eventually: scrapped
Fusion 360 thrust-bearing assembly cross-section
Custom pitch harness designed to rotate an air pistol
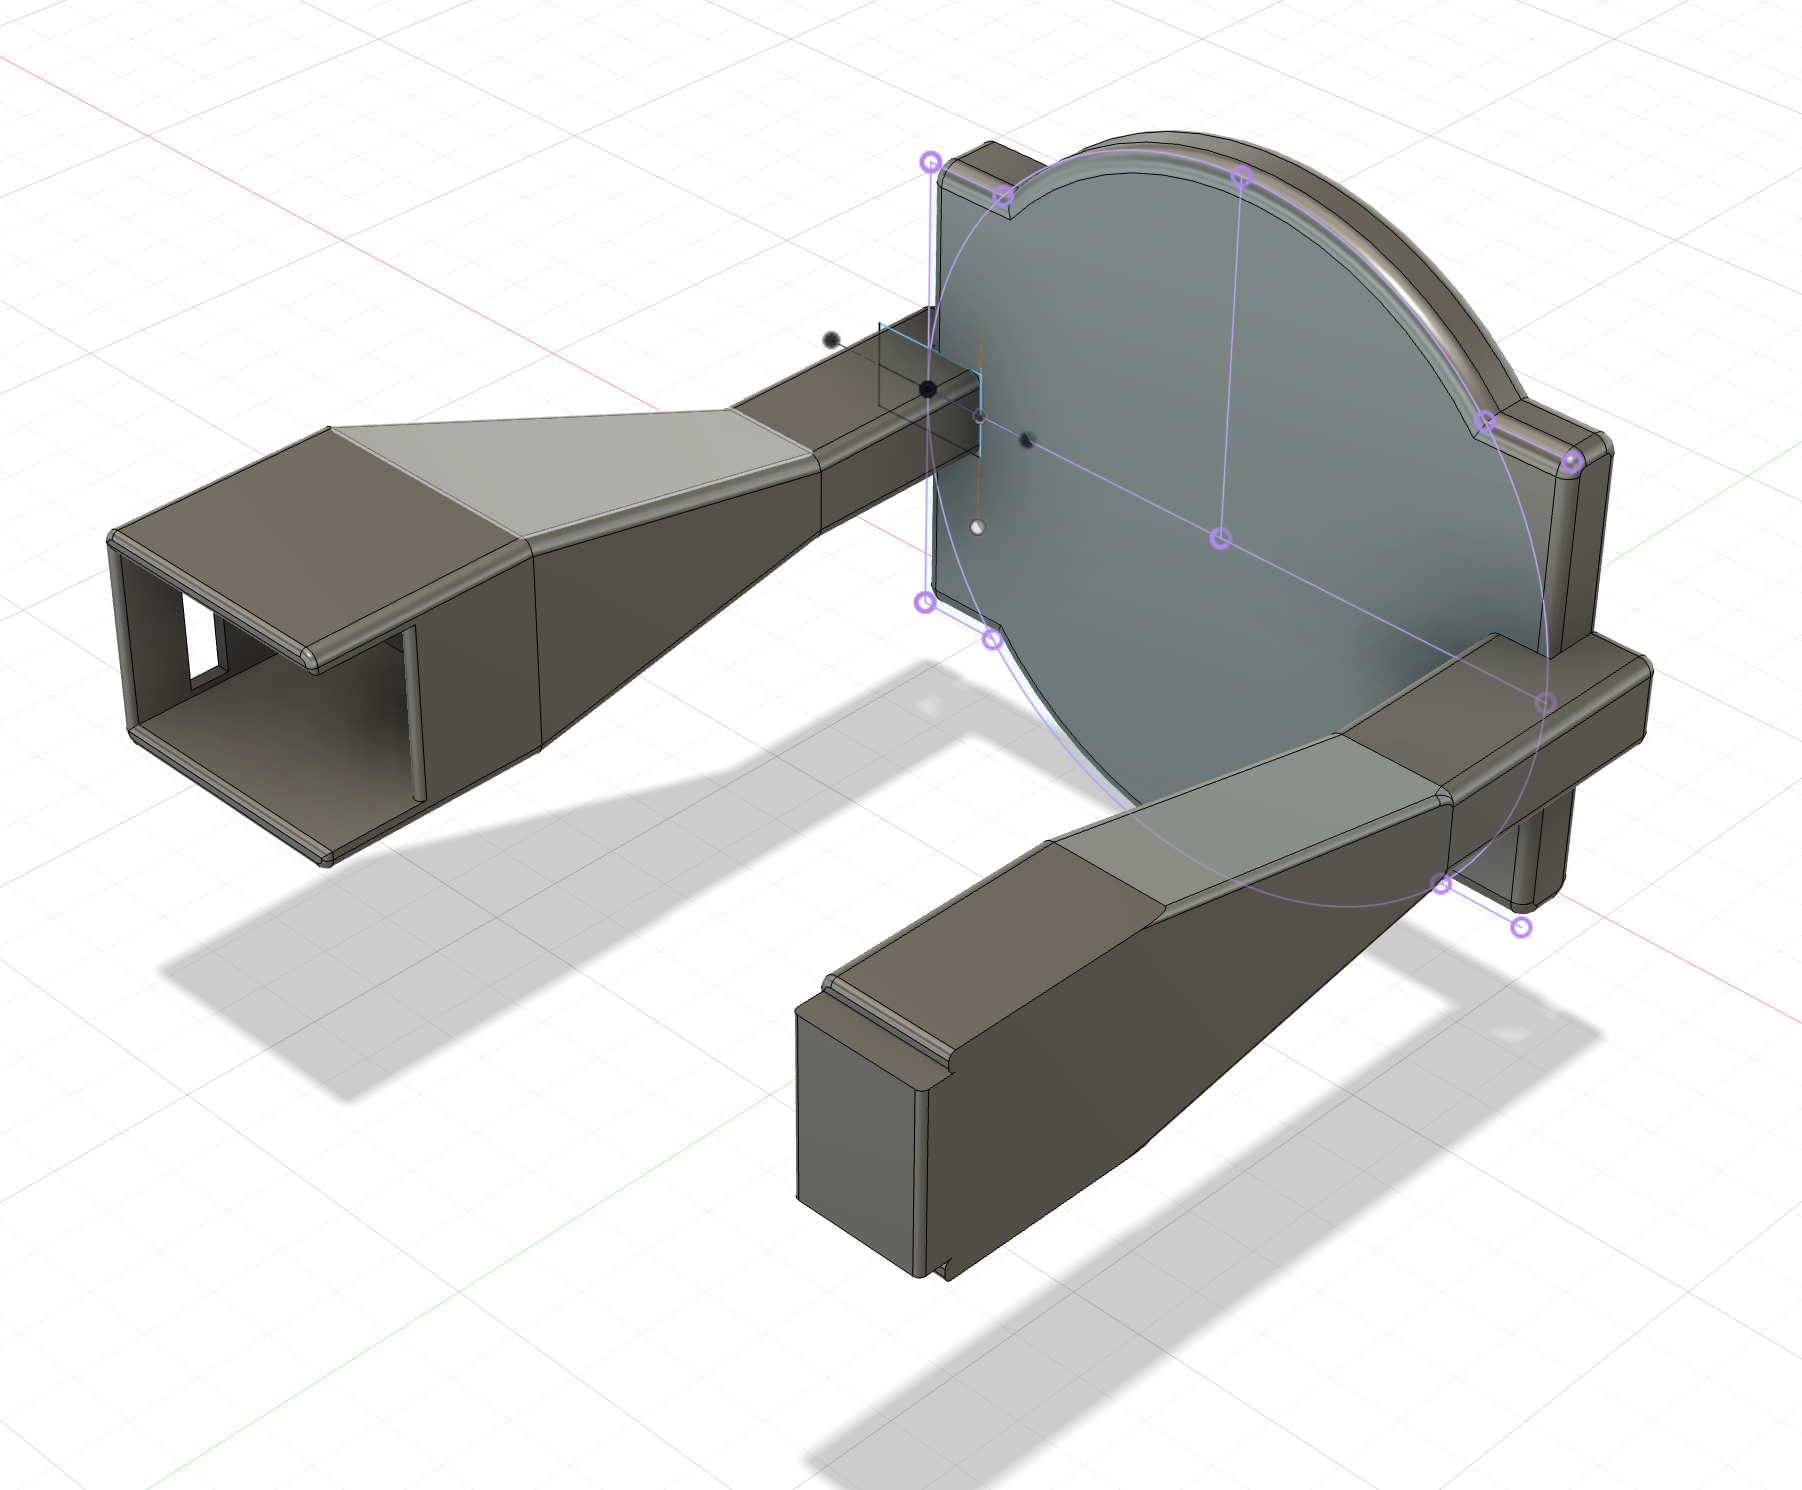
aiming · pivot

Switched to an air pistol. Designed a pitch harness.

Switched to a CO₂ pistol — lighter, shorter, lower moment arm. No thrust bearing needed; a simple cradle grips the grip and a servo rotates it for pitch.

Why it made sense
Lighter weapon → smaller servos, smaller everything.
Shorter barrel → lower moment arm. No bearing required.
Then I found the SO-101 arm. Threw all of this away.
aiming · unlock

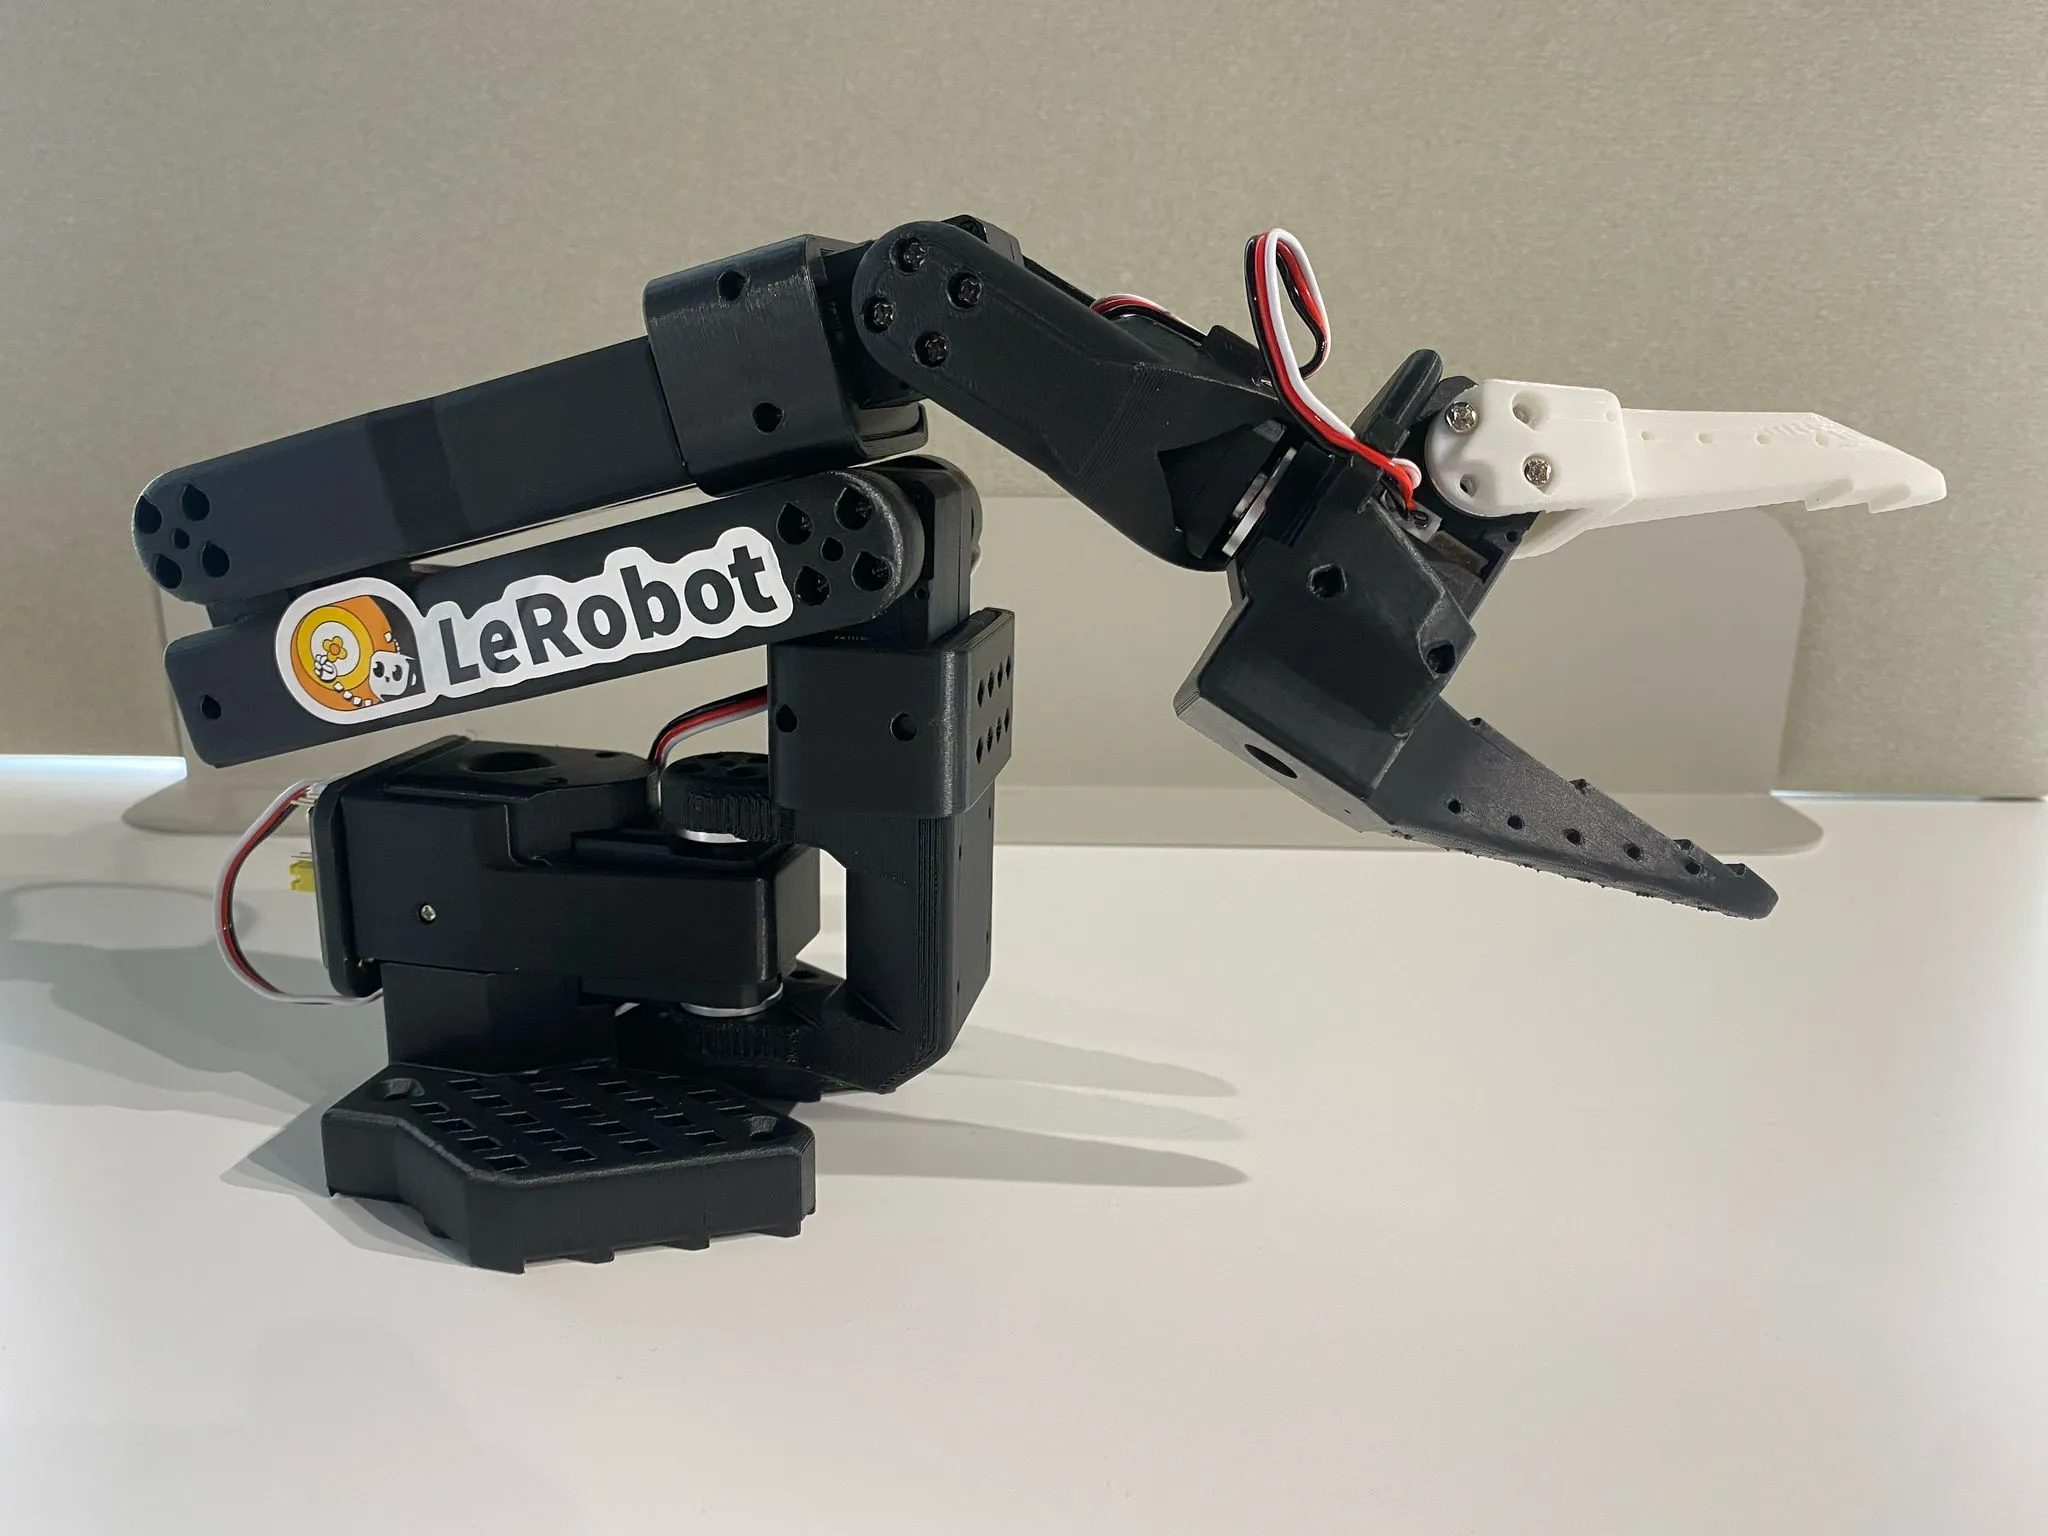
Then I found the SO-101.

Open-source LeRobot arm. Load-rated, 3D-printable, designed around Feetech serial servos — way more capable than the hobby servos I had been fighting.

What it unlocked
A battle-tested yaw stage I didn't have to design.
A crash course in serial servo protocols via FT_SCServo_Debug_Qt — a Feetech debugger I could speak the wire format through.
Proven wiring + power patterns I could just lift.
LeRobot SO-101 Feetech serial servos github.com/Kotakku/FT_SCServo_Debug_Qt
LeRobot SO-101 follower arm — the open-source base I adopted
aiming · final build

The final aiming rig.

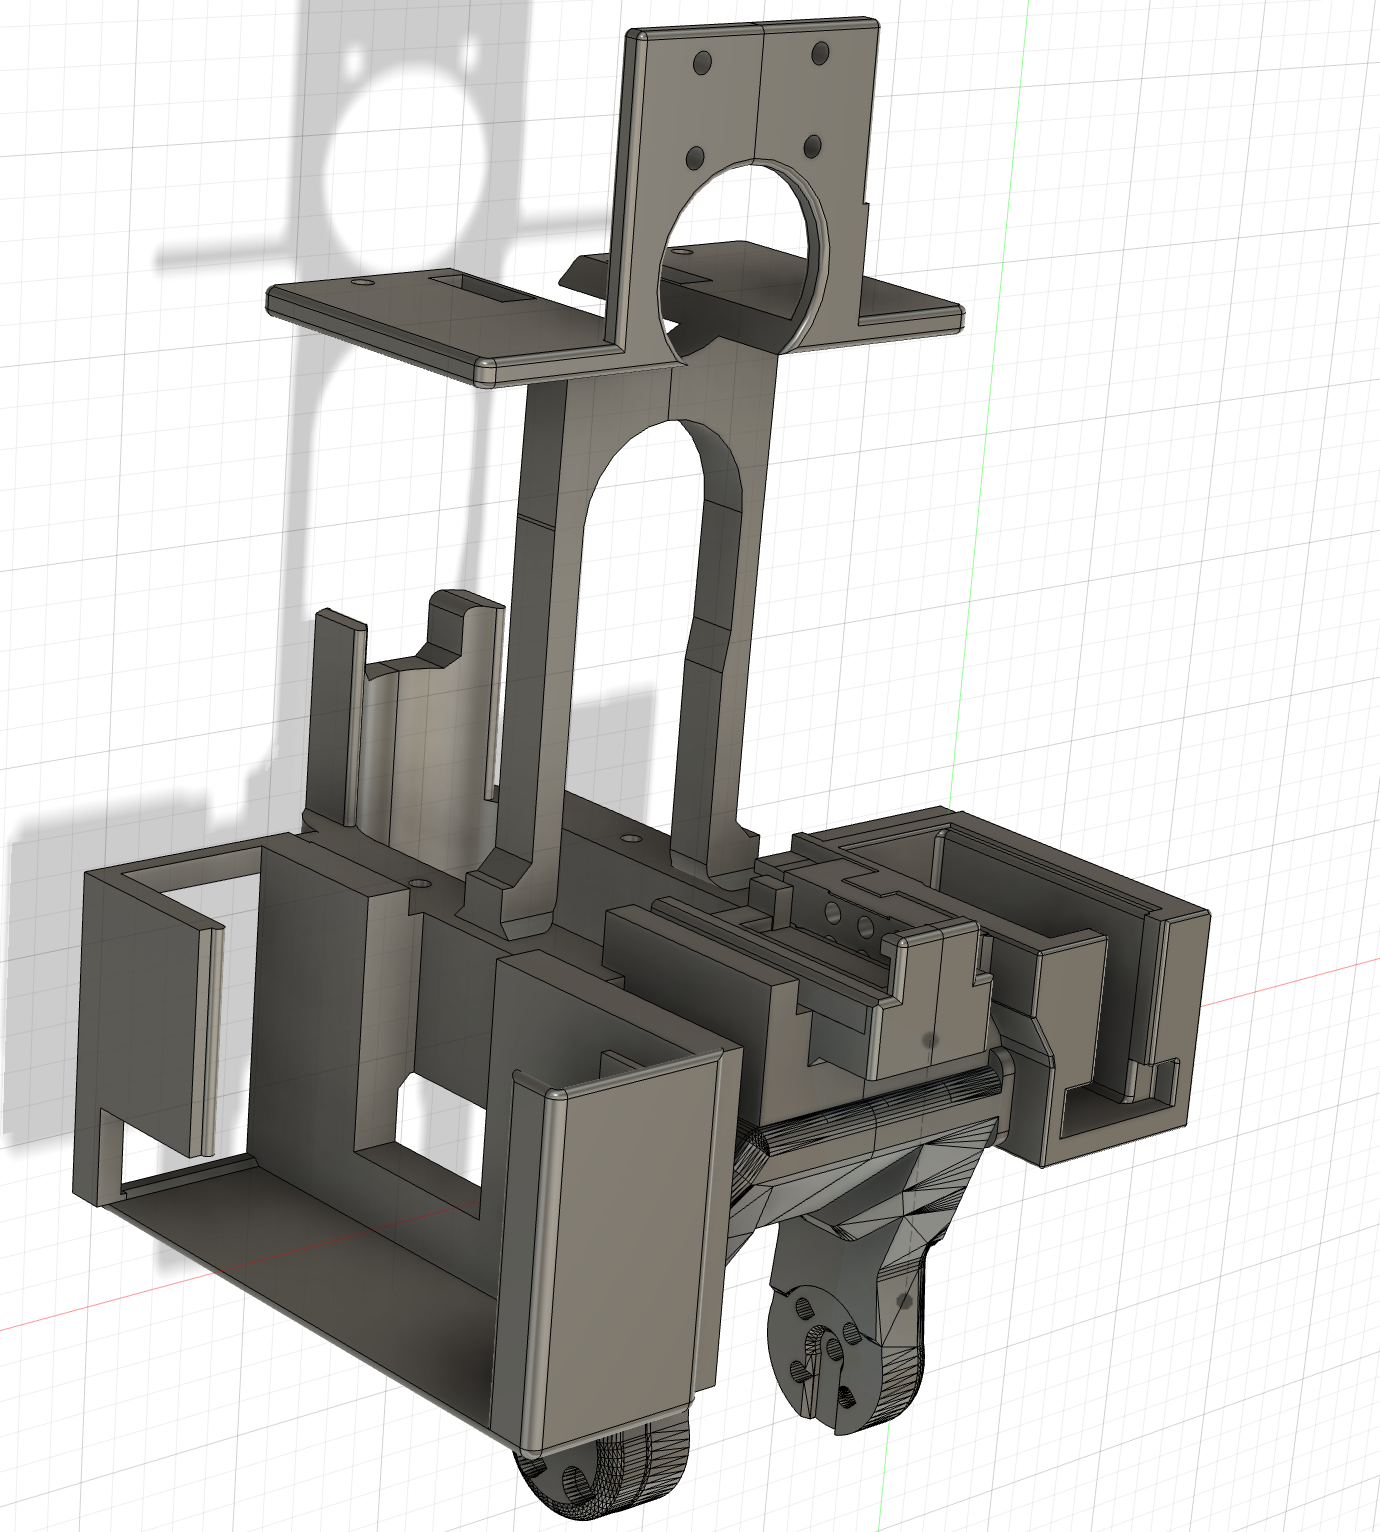
CAD · custom pitch attachment
Bolts to the SO-101's top plate. Holds the pistol, the Jetson, the camera, and all the wiring.
Assembled · v2 rig
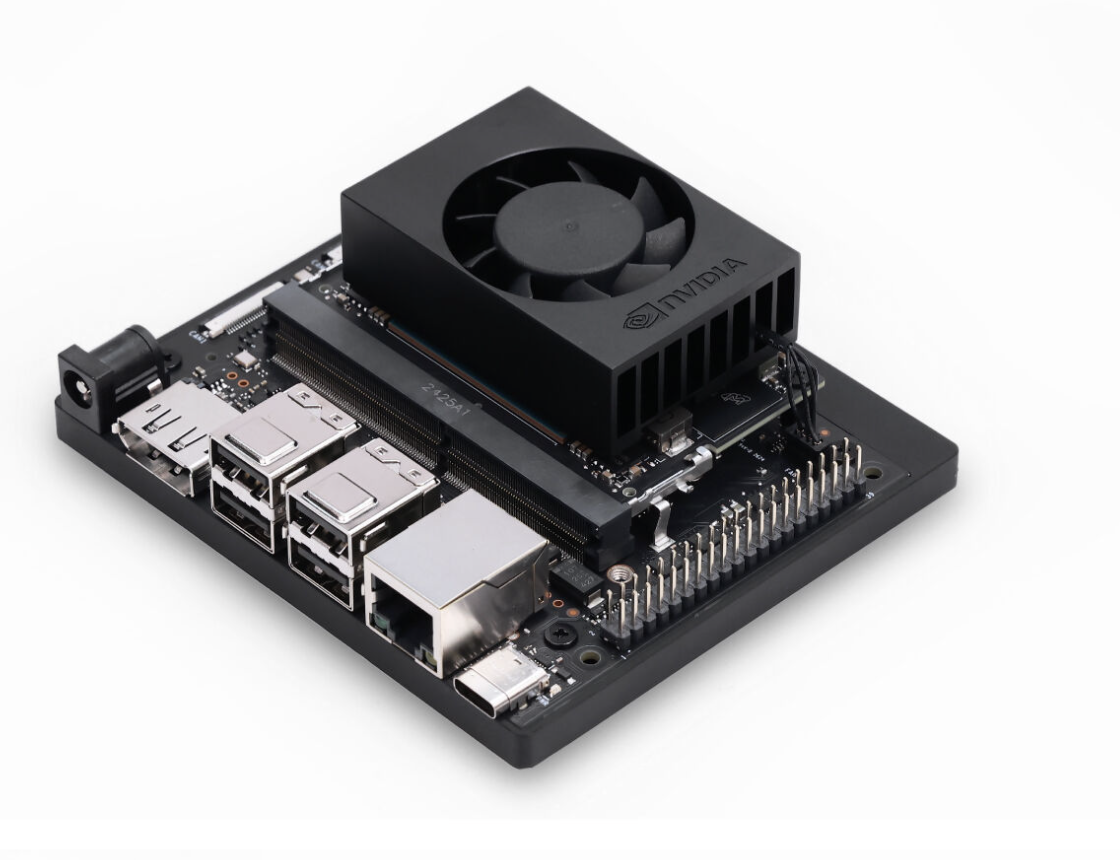
SO-101 for yaw (load-rated, off the shelf). Custom printed pitch on top. Jetson Nano for faster inference.
1 inference/sec 5 inferences/sec
Custom pitch attachment that bolts onto the SO-101 base
NVIDIA Jetson Nano single-board AI computer with fan
Jetson Nano
SO-101 arm · yaw axis Custom pitch · printed Jetson Nano · +$300 Higher inference throughput
control · operator interface

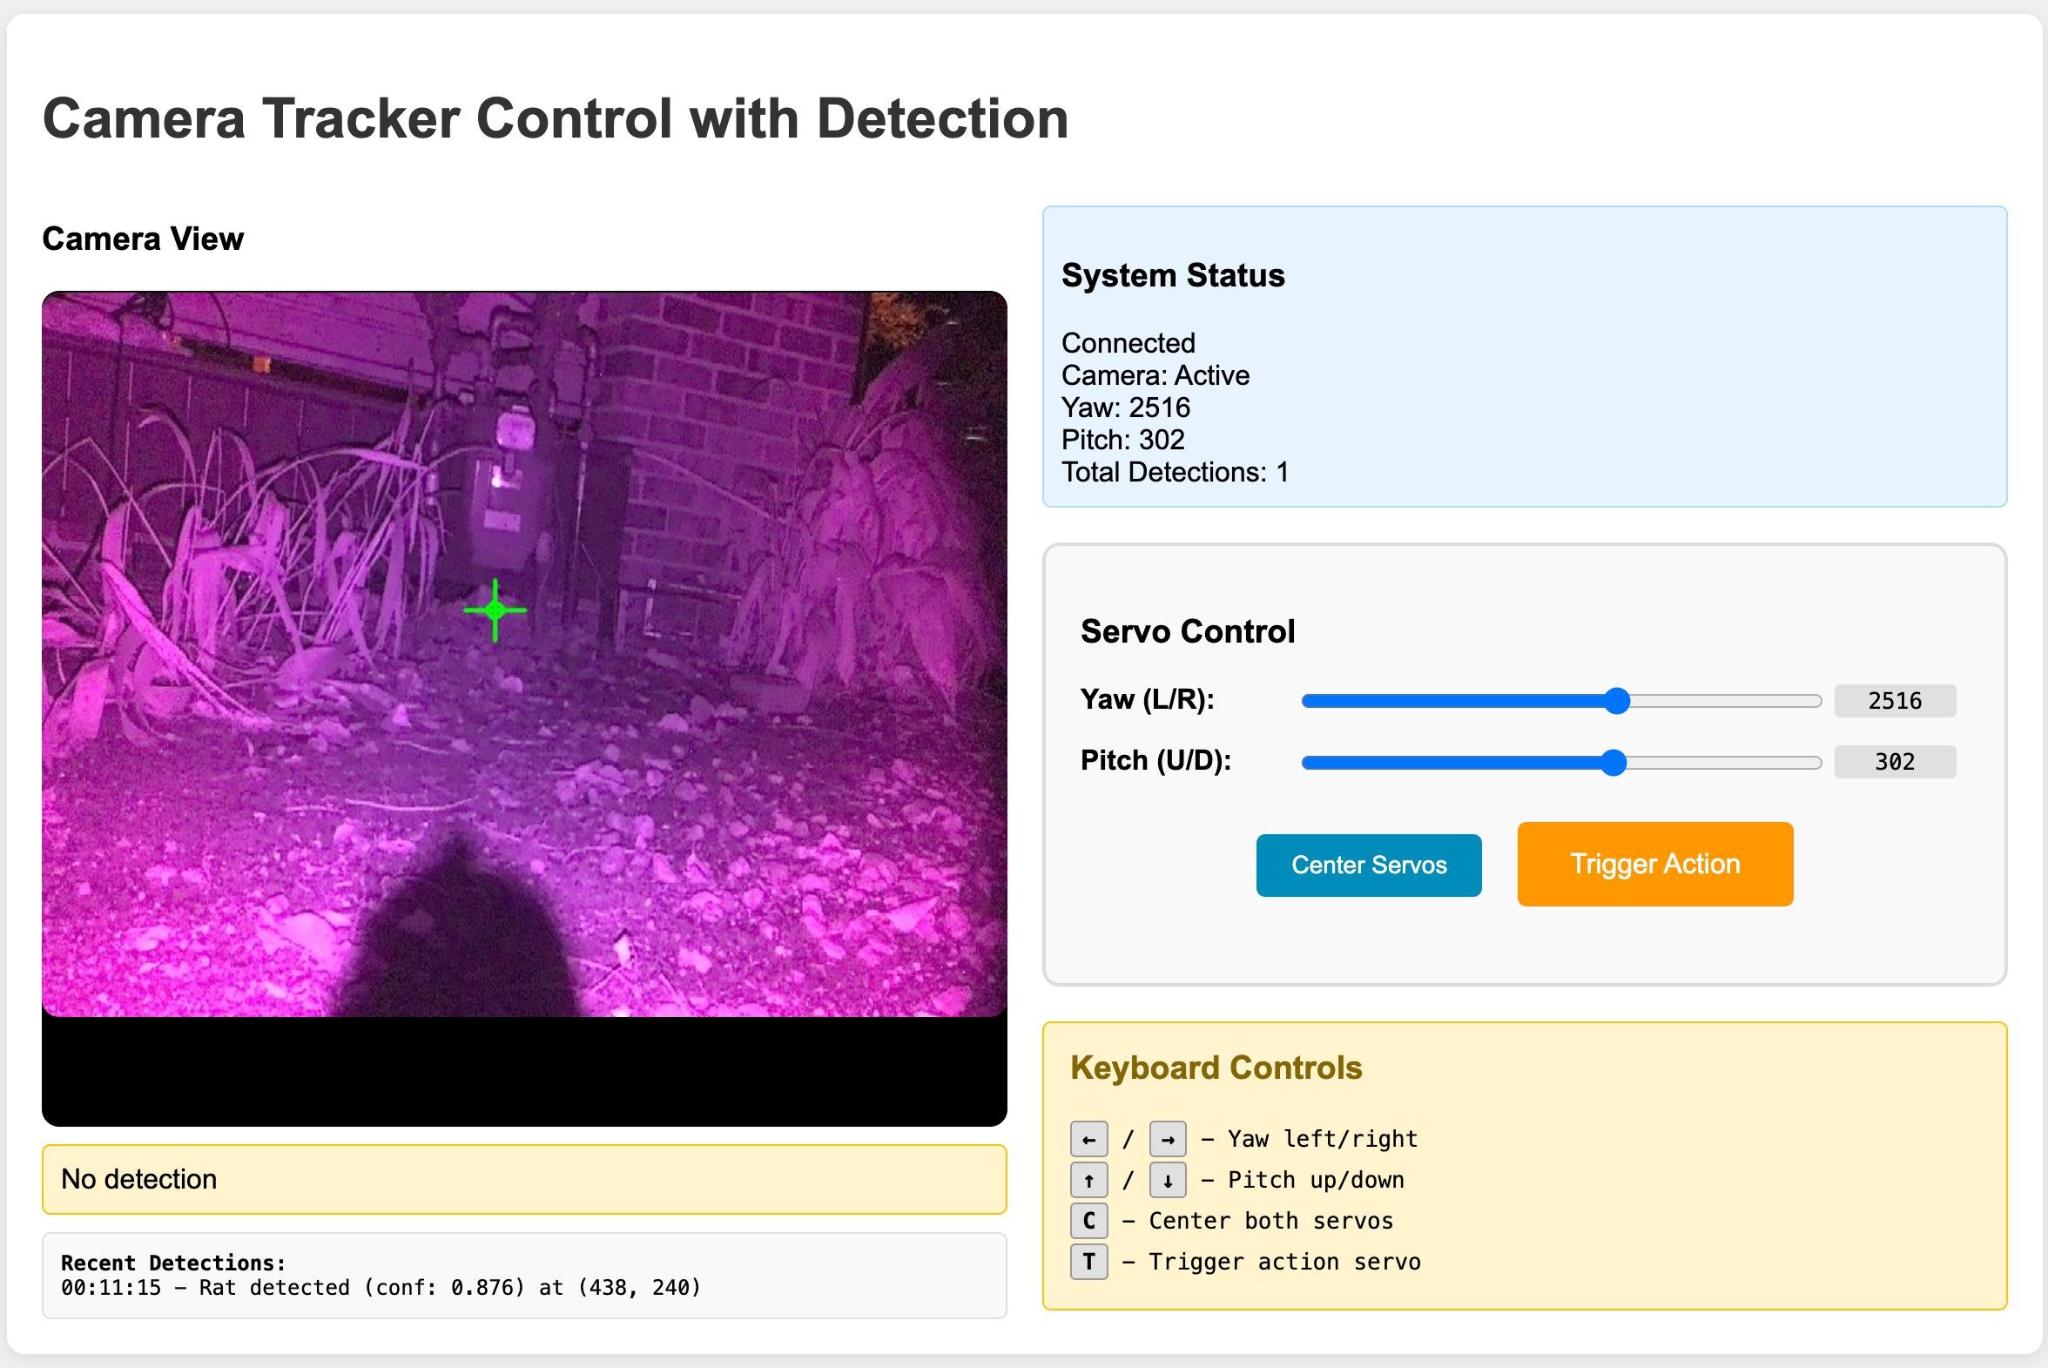
A little web app to drive it by hand.

Vibe-coded a tiny browser UI: live camera feed with a crosshair overlay, sliders for yaw and pitch, a center button, a trigger button, and keyboard nudges. Useful for calibration, for testing the detector in-situ, and — importantly — for pulling the trigger yourself.

What's in it
MJPEG stream from the Jetson, detections drawn live.
Yaw/pitch sliders post directly to the servo bus.
Arrow keys + C/T for keyboard control from the couch.
Camera Tracker Control web UI — live camera view with crosshair, servo sliders, trigger button
rig/live · detect → aim → fire · loop
it works · terminator moment

The turret tracks. The turret fires.

First clean end-to-end run. Detector locks on, SO-101 slews to target, pitch drops, Daisy goes off.

It is genuinely unsettling to watch a weapon track something on its own — even on an iPad.

End-to-end working Detector + servos + trigger Autonomous
deployment · night 01

2:00 AM. The camera had moved on its own.

IR night capture — rat under the deck, camera has panned to track it
rig/ir · 02:07:41 · auto-pan to contact
Frame 01 · tracked
A rat in frame, right where the camera pointed itself. The detector had locked on.
IR frame from the same sequence — cinder block, debris, rat in the foreground
rig/ir · 02:07:53 · sequence continued

Eventually glanced over and the viewfinder was pointed somewhere new.

First real detection Unassisted auto-pan Did not fire · calibration pending
deployment · night 02

Engagement with the enemy.

IR capture — rat in frame, rig engaged
rig/ir · 2025-10-25 · 02:32:32 · shots fired
Rig camera · engagement
Detector locked on. Turret slewed. Daisy fired. We believe a hit — the rat with the spot never came back on the Reolink.
Reolink camera aimed at the rat burrow — no activity after the engagement
reolink · burrow watch · no return

The Reolink was parked on the burrow — the hole we'd been watching rats come and go from for weeks. After this night: empty. Possibly a hit. Possibly he just moved. Ultimately: shrug.

First real engagement Likely hit (unconfirmed) No return on Reolink
control · calibration

Camera Sees ≠ barrel points.

barrel → target camera crosshair 01 · detect offset crosshair above barrel line · needs to come down Δ 136 px

The camera sits on top of the barrel, so the sightline is offset. To fire accurately, the crosshair on the video feed has to be calibrated back down onto the actual line of fire.

The procedure
01 Test-fire at a sheet of paper at known distance.
02 Measure pixel offset between camera crosshair and hit.
03 Shift crosshair down in software until it overlays the hit.
Foreshadowing

This calibration is only valid at one distance. Change how far the rat is, the offset shifts. Later: a whole failure mode.

Act IV  ·  What broke

Software: one offset can't cover every angle.

Attempt · angle-dependent offset
Side view of the rig — camera crosshair line and barrel-to-target line diverge past the calibrated distance
I dialed the crosshair offset as a function of turret angle. Mixed results. Still off by enough to matter.
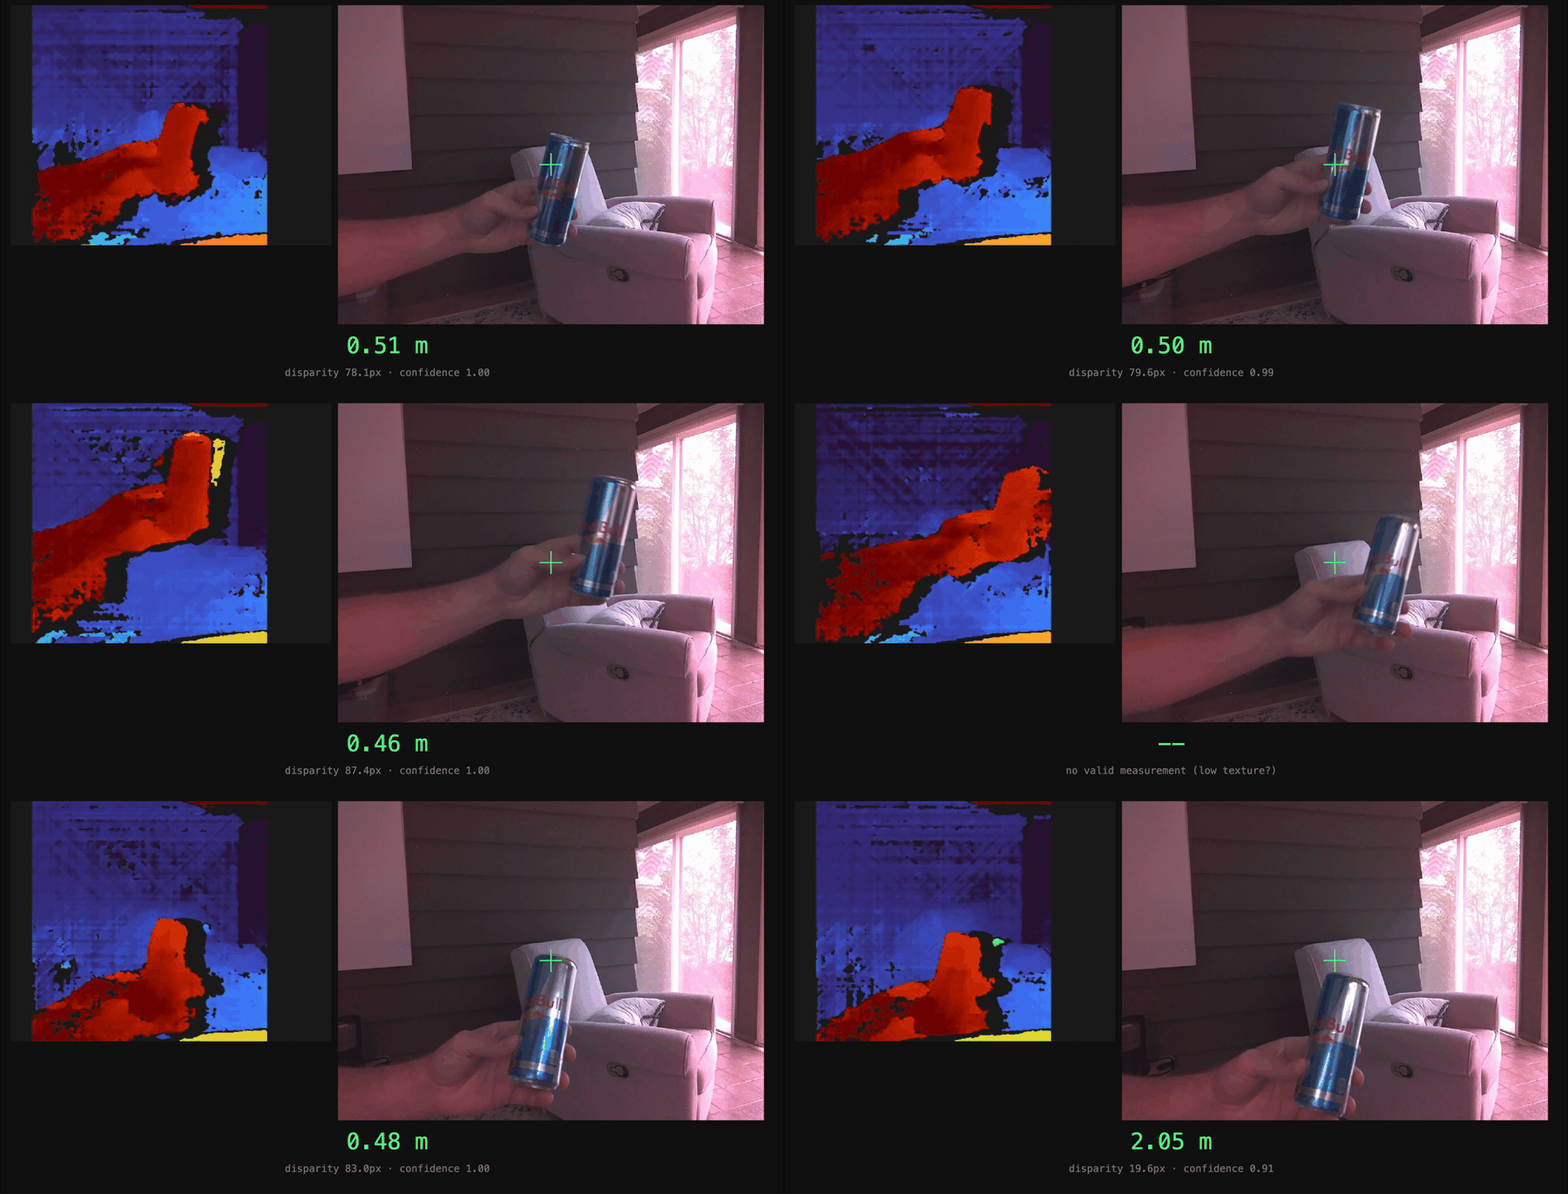
Pivot · stereo cameras (thanks Rob)
cam L cam R rat baseline depth from disparity
Two IR cameras, known baseline. Triangulate a 3D point for the rat — no more pretending the world is flat at one distance.
Act IV  ·  What broke

Hardware: the trigger arm kept breaking.

Trigger arm v2 — thicker, curved, re-oriented print
trigger-arm · v2
v1
2–3
shots before snap
v2
40+
shots before snap
Iterations
01
Rotated the print, thickened the arm, added a curved shoulder.
Layer lines now cross the stress axis instead of parallel to it. 20× the shot life.
02
All the test-firing surfaced the bore-sight problem.
Hundreds of shots to prove the arm held up also proved the crosshair lied — same issue from earlier.
03
The harness holding the gun developed play.
Repeated firing loosened the mount that held the pistol itself. Force on the trigger dropped over time — a slow-motion failure.
04
Started designing a bolt mechanism to replace the snap-on.
Kinematically-locked instead of friction-held. Not finished.
Act IV  ·  Next version

What I'd do differently.

Eliminate the bore offset
pivot barrel cam L cam R target Δ = 0
Mount the stereo pair right next to the barrel. Camera and bore converge — no geometry trickery, no angle-dependent offset table.
Also on the list
  • Bolt-locked trigger mount (no mount play).
  • Log every shot with the depth estimate, learn from misses.
Act V  ·  Accounting

The Bill.

Item
Cost
7× Feetech servos
$140
Raspberry Pi
$60
Jetson
$300
2× IR cameras
$80
CO₂ pistol + pellets
$30
Reolink camera
$80
Bearings (testing)
$10
Heat-set inserts
$20
Other tools
~$40
Filament & print time
~$70
Total
~$830
The honest number
~ 400 hrs
I actually have no idea. Nights, weekends, one vacation. Not on the parts list. Worth more than the parts list.
Act V  ·  The verdict

Was it worth it?

Option A · Exterminator
$300
time One week.
effort One phone call.
scars Zero emotional scarring.
output Dead rats.
The obviously correct answer.
Option B · Mine
$830 + ~400 hrs
time Months.
effort All of it.
scars Several.
output 1 dead rat (unconfirmed) + everything I learned.
The obviously correct answer.
Both answers are right. That's the whole talk.
fin.
Q&A
Ask me anything — rats, servos, YOLO, why I didn't just call the exterminator.